Gearbox Removal
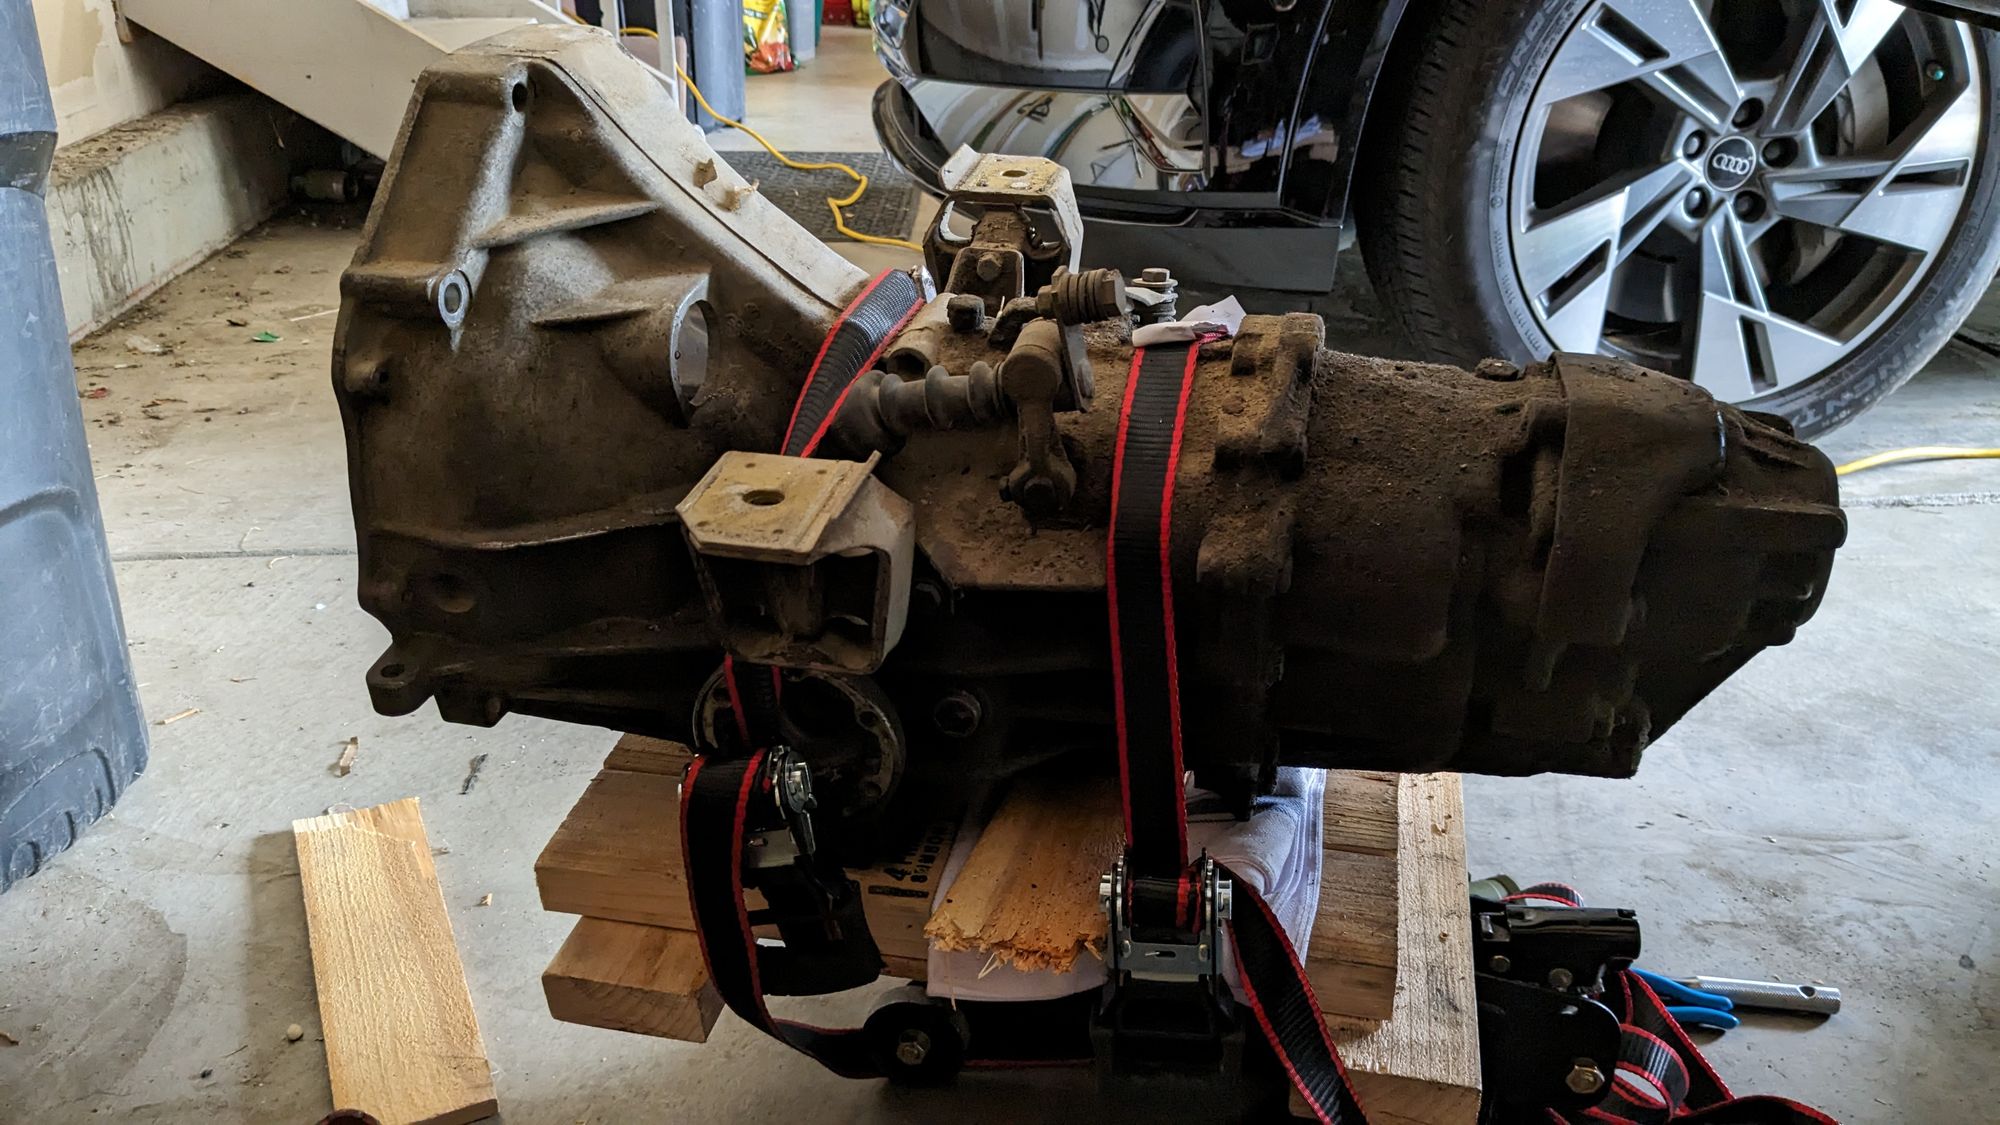
The gearbox was dirty and leaking quite a bit of fluid. I decided to remove and reseal it. The steps are outlined very well on Clarks Garage and so I printed out a checklist and got to work.
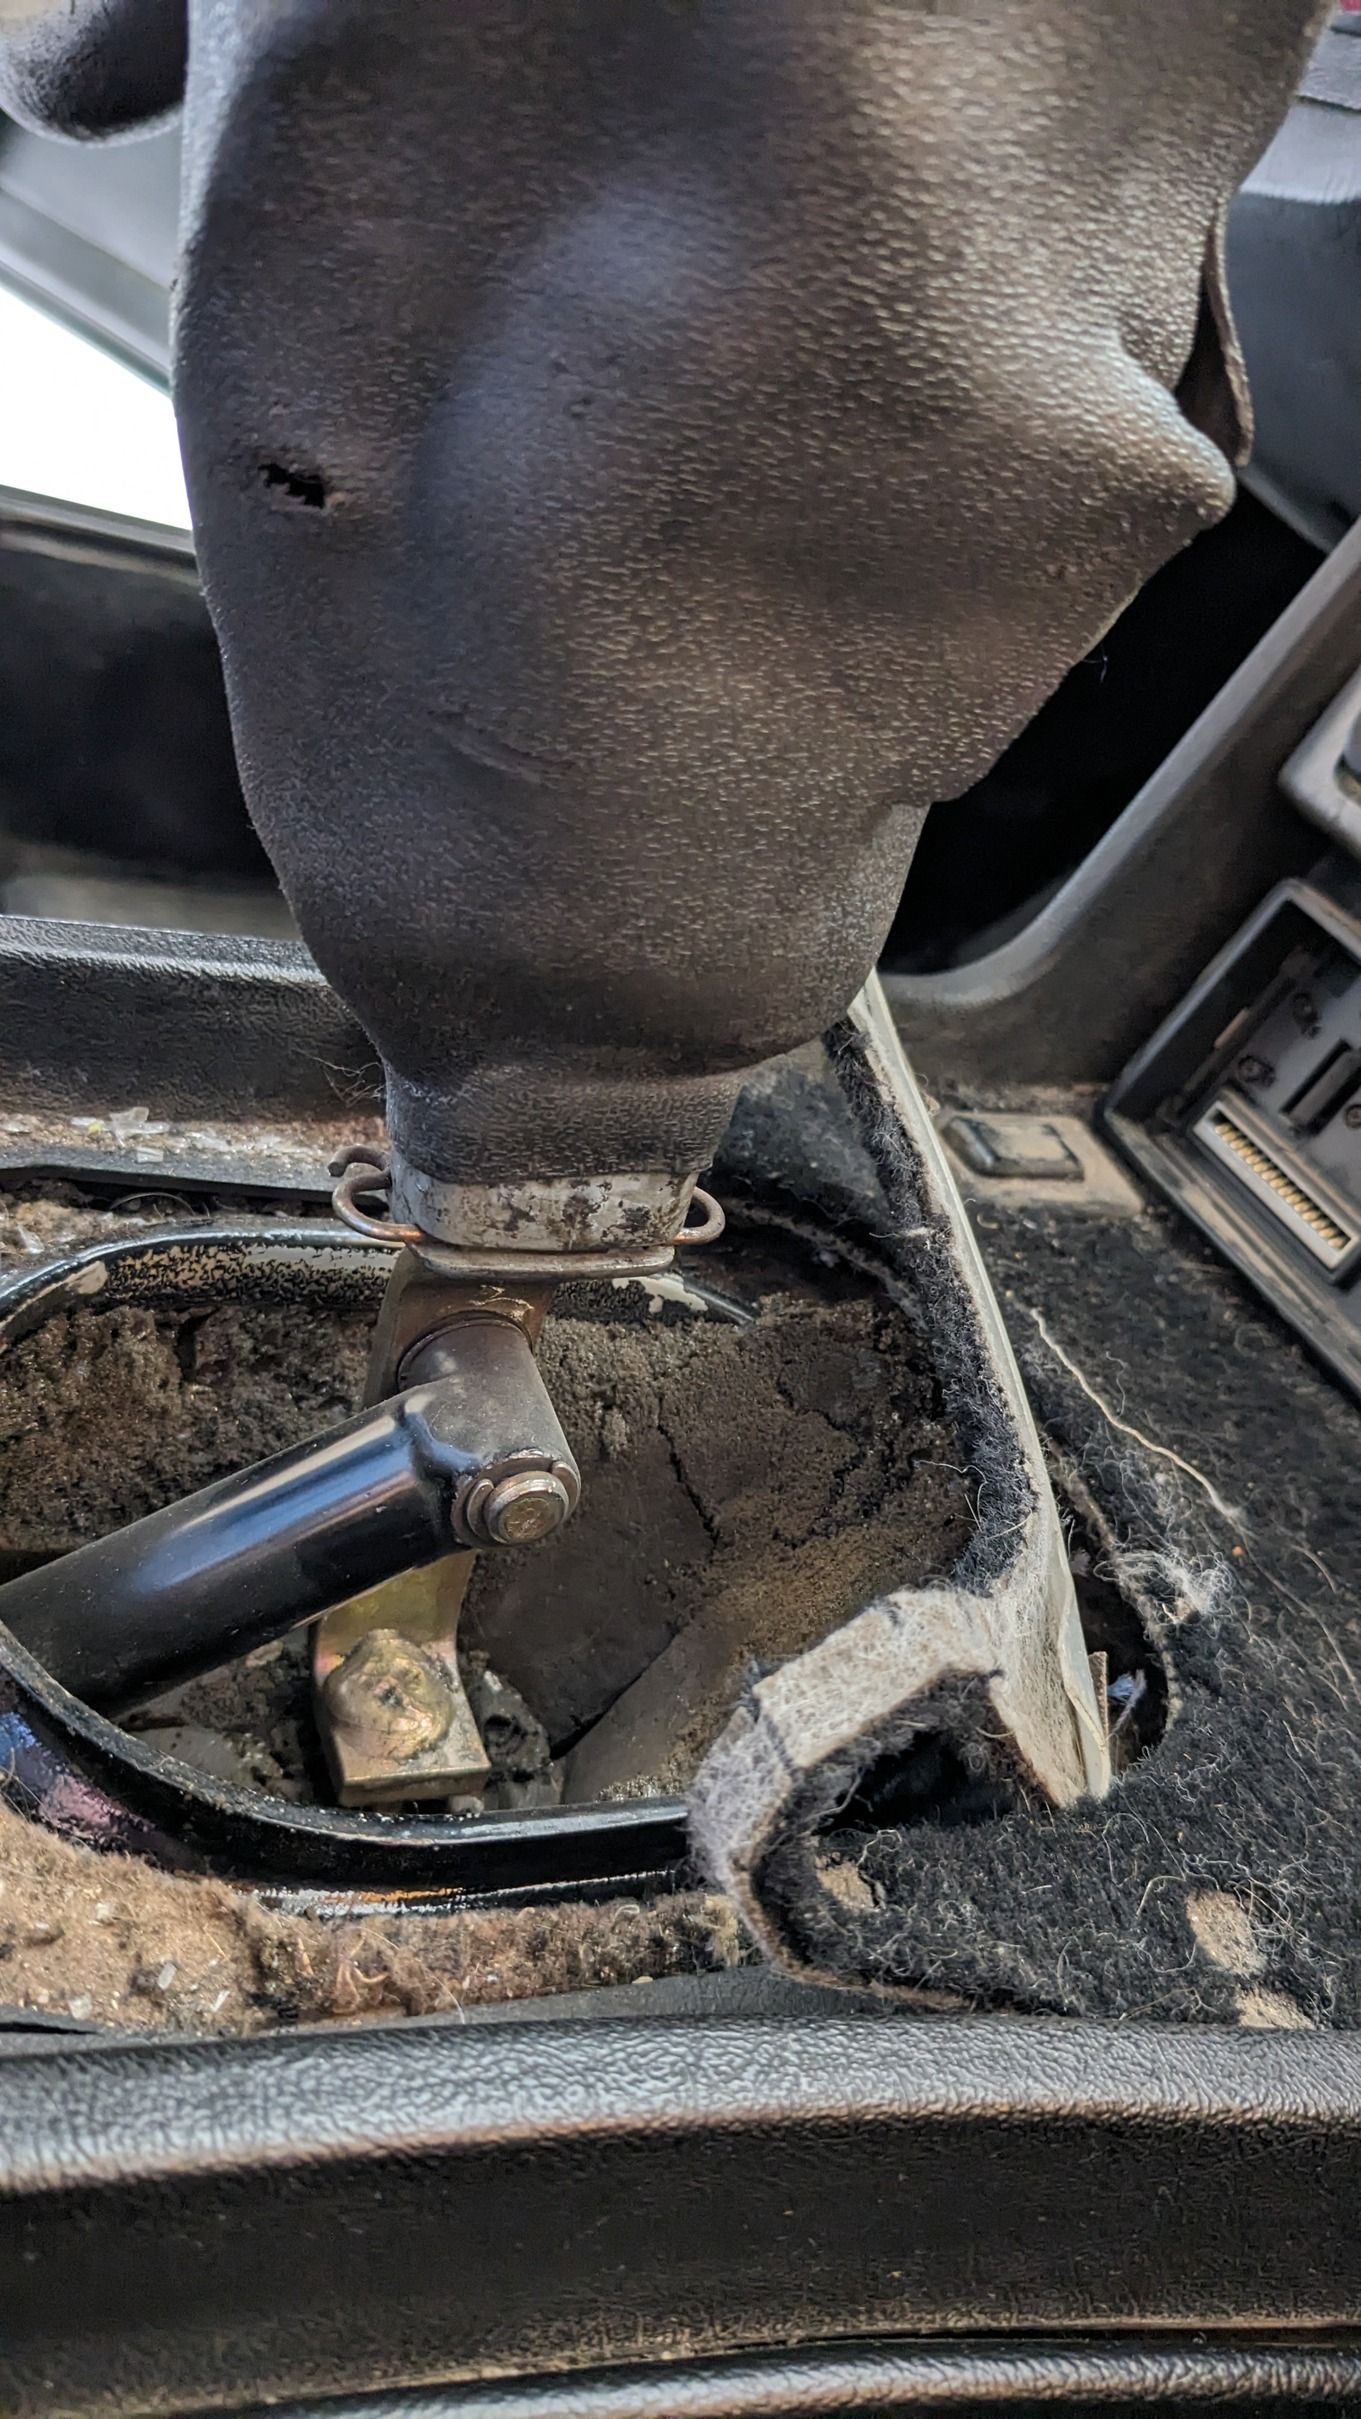
The first step is removing the shifter boot and the linkage bar which connects to the gearbox. I had a little bit of trouble pushing the linkage bar forward with all the foam insulation, but eventually I pushed it forward.
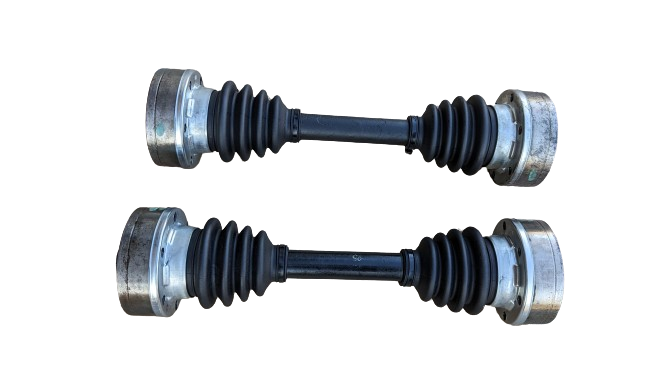
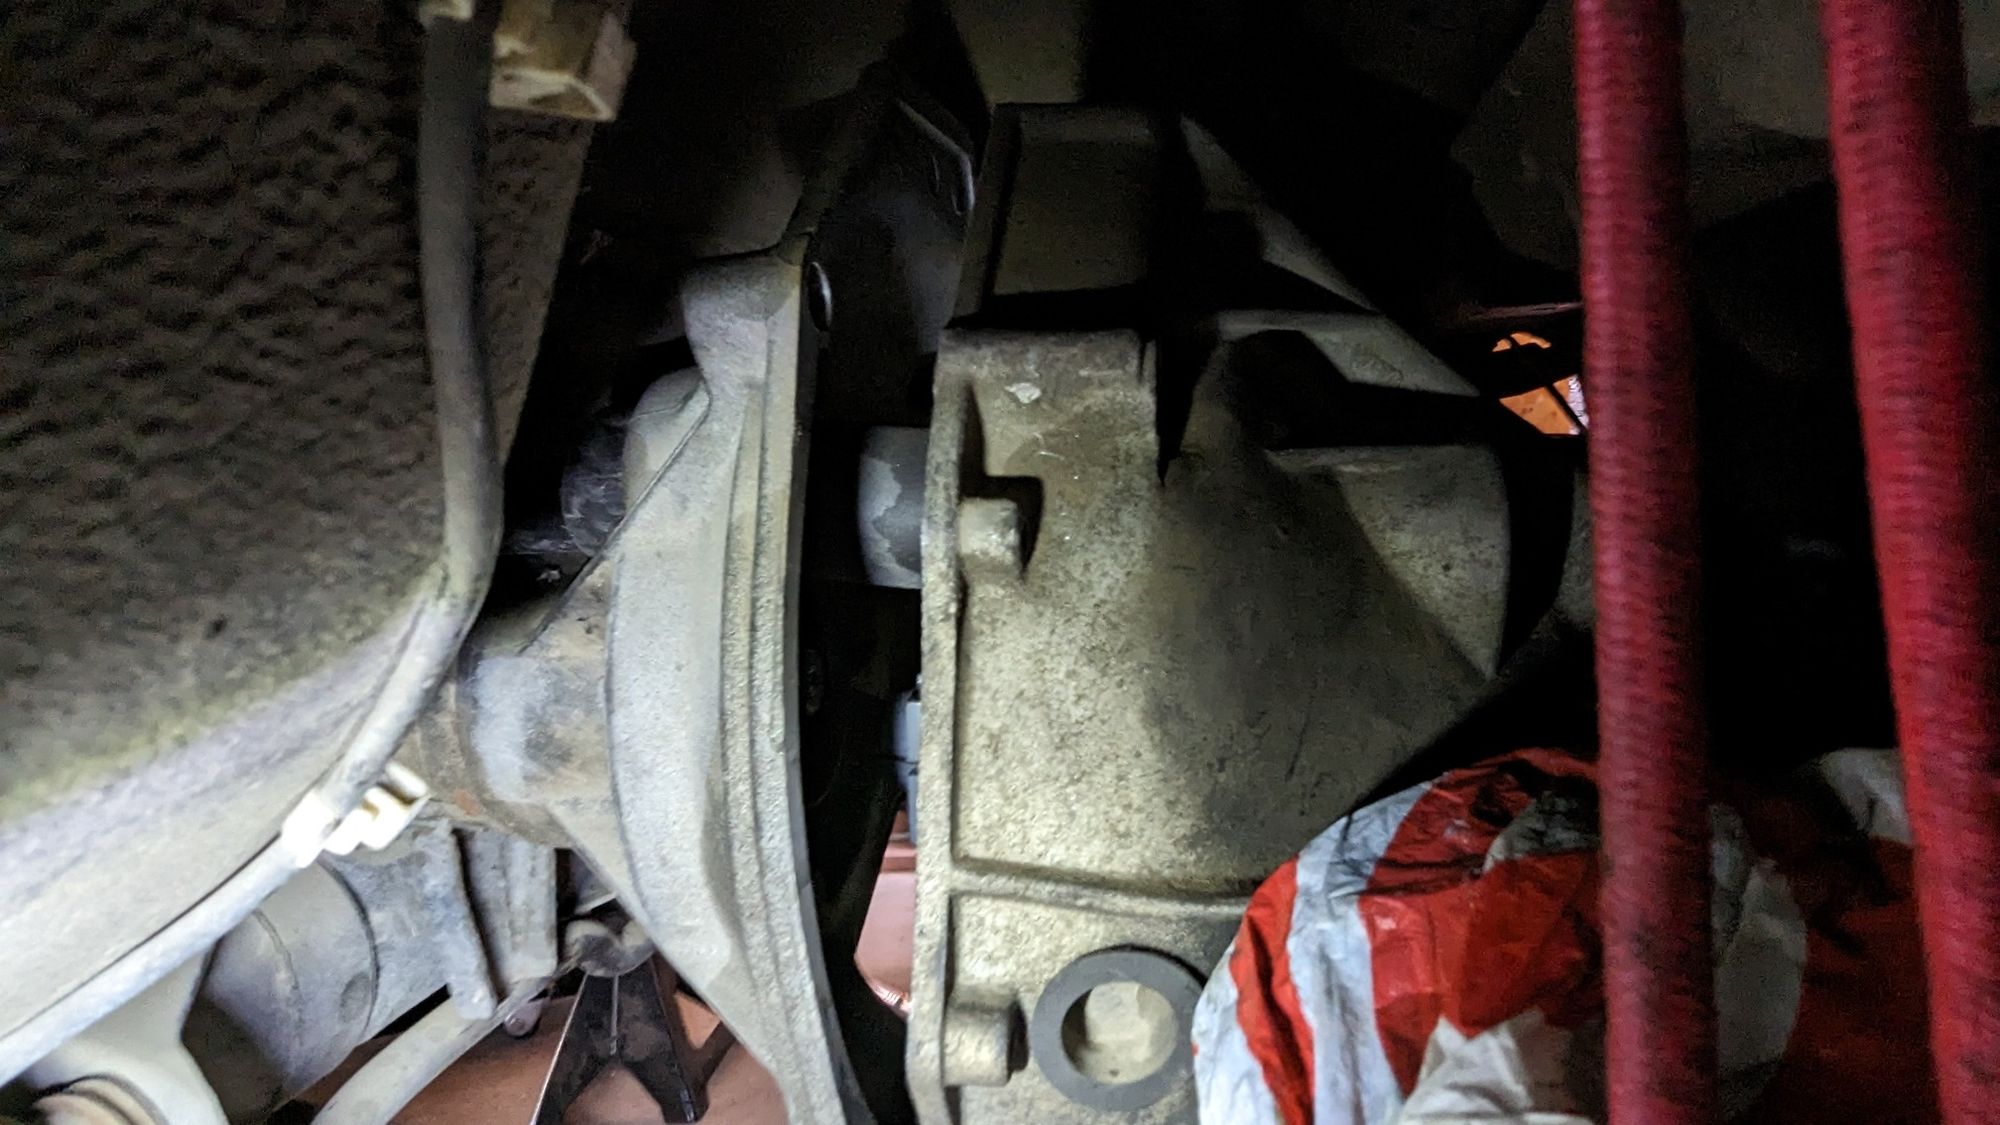
Next steps included disconnecting the rear axles from the transmission. Cleaning out the triple drive heads took the majority of the time, but I was able to remove all of them without any stripping.
Removing the coupler was tedious because I had to rotate the engine using the crankshaft bolt, then run back to the transmission to see if the coupler bolts were facing the right direction. It was a lot of back-and-forth, but with the help of a wobbler extension I was able to get both of these bolts off without any issues and push the coupler back. Then I disconnected the reverse light and marked which lead went where with fingernail polish.
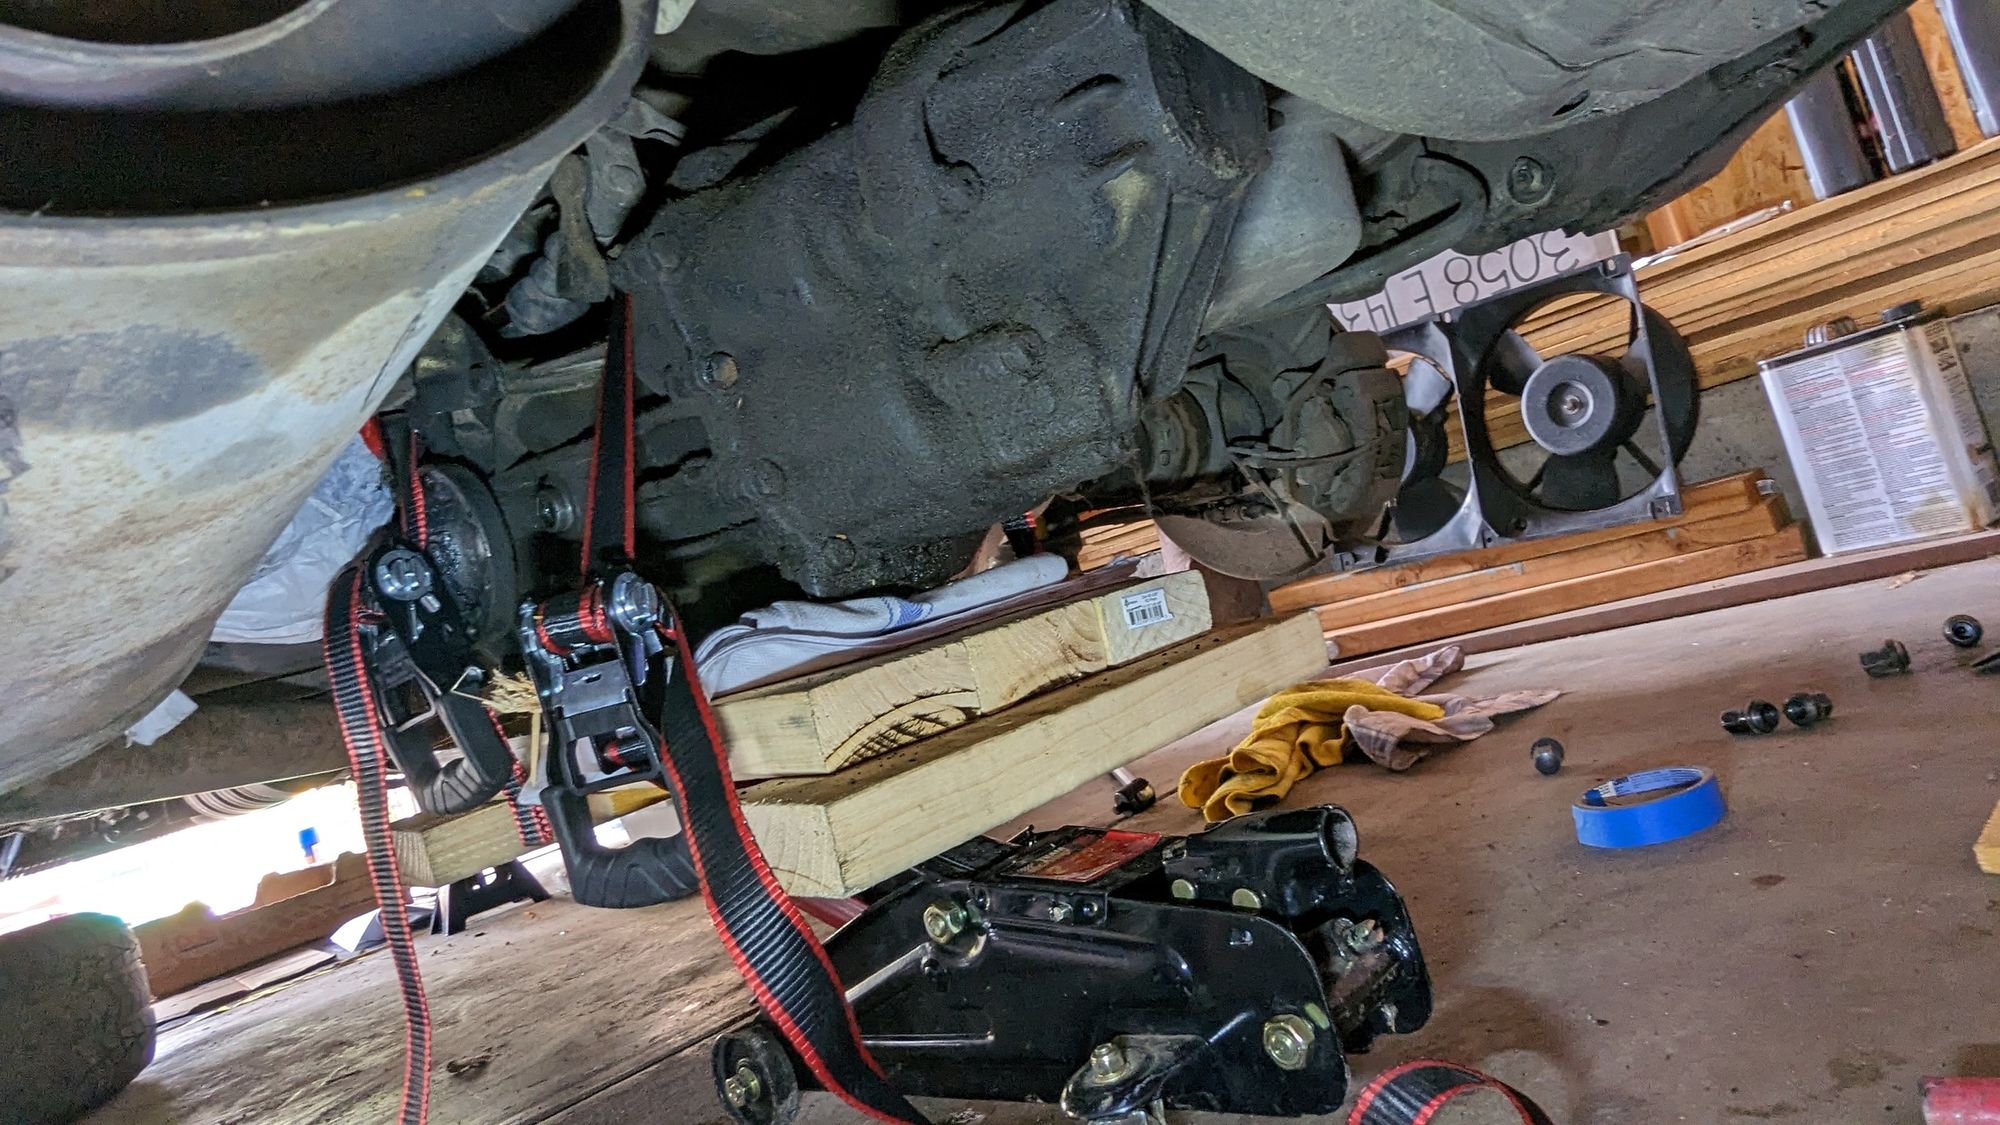
I drained the fluid and then jacked up my home built transmission jack to support the gearbox.
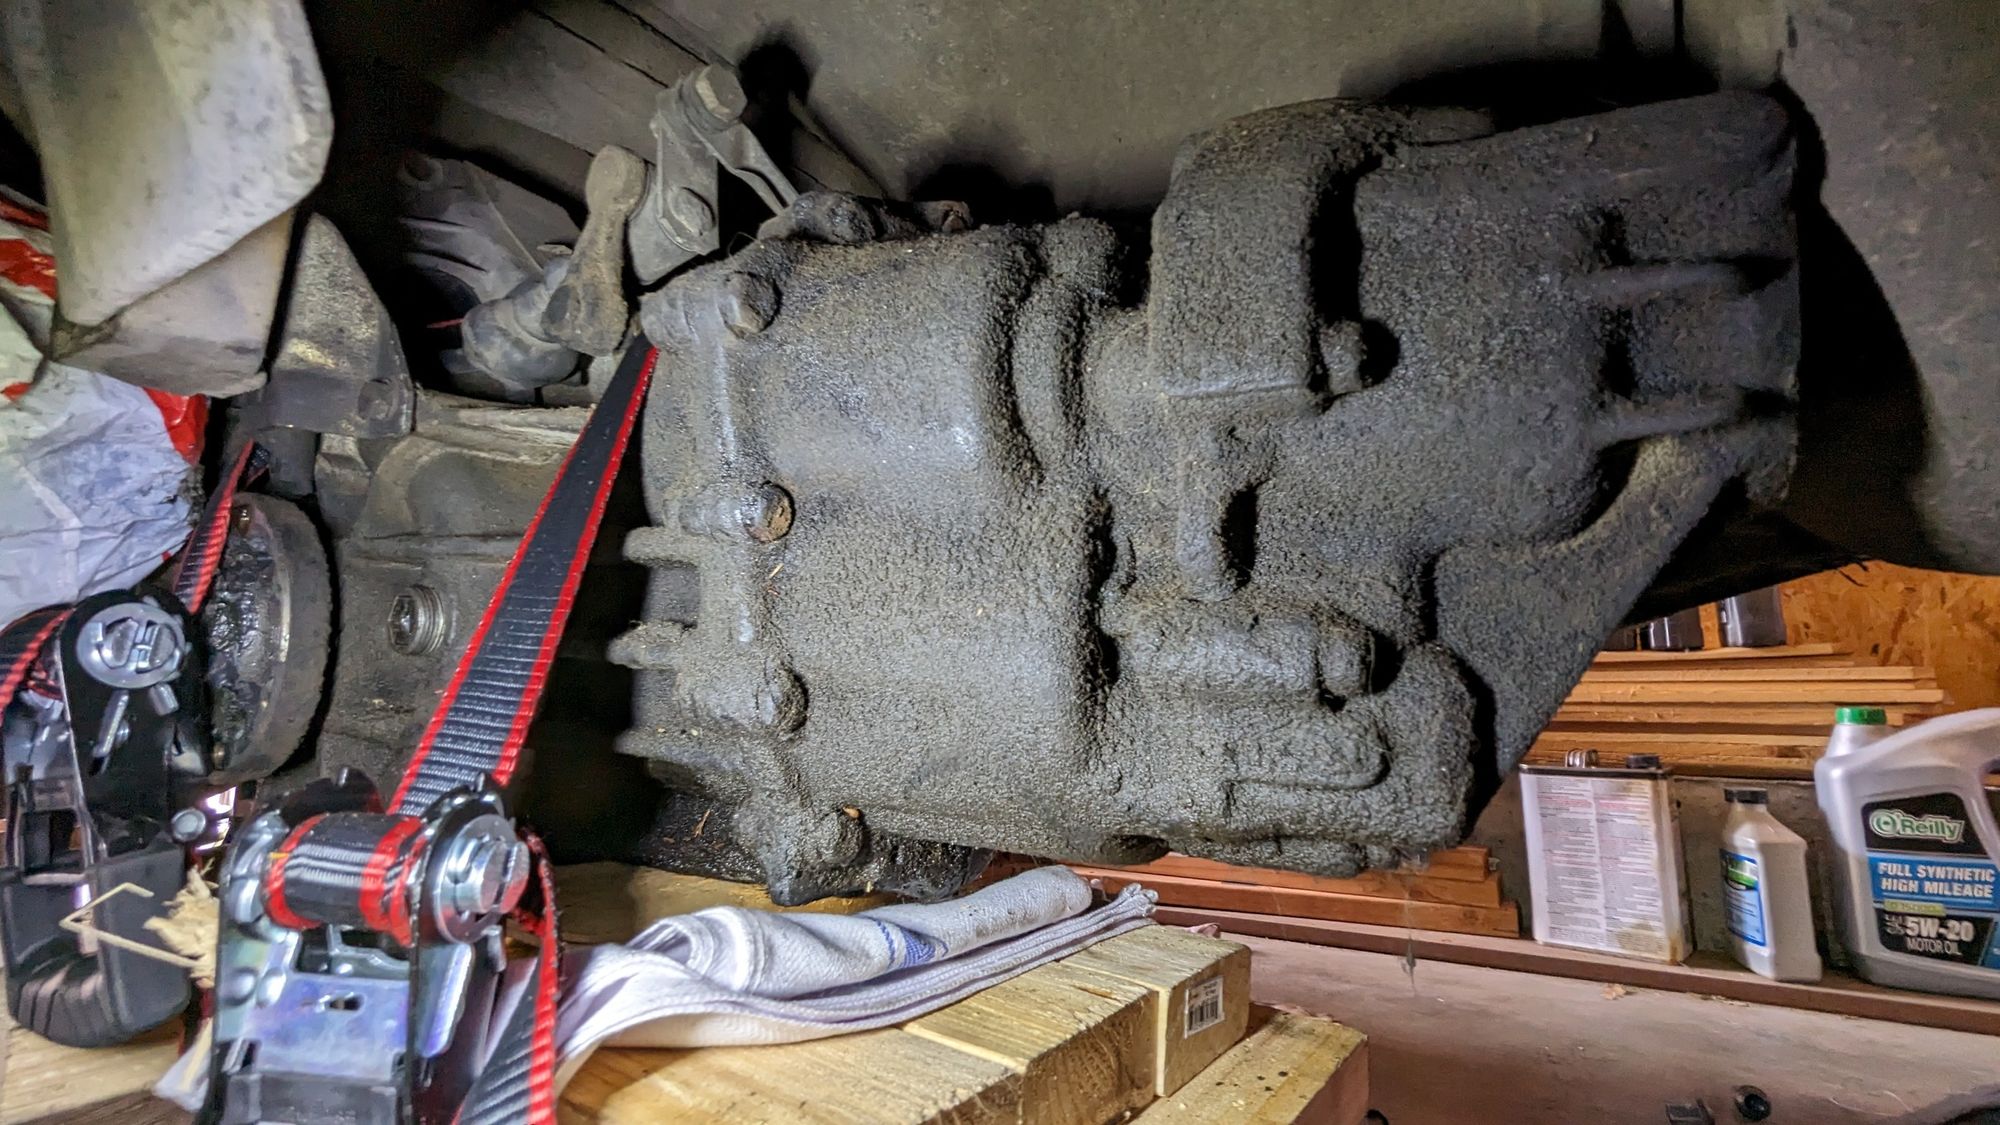
Next I unbolted the 4 bolts connecting the gearbox to the torque tube along with the transaxle mounts. The gearbox was free. I started pushing it back and basically hoped the black plastic tube would be easier with a little more space. Lucky for me someone had already been in there and cut out one of the tabs so it could slide.
Finally it was time to lower the gearbox. It was a battle with the spare tire well preventing much movement, but with a little luck I finally was able to lower the gearbox.
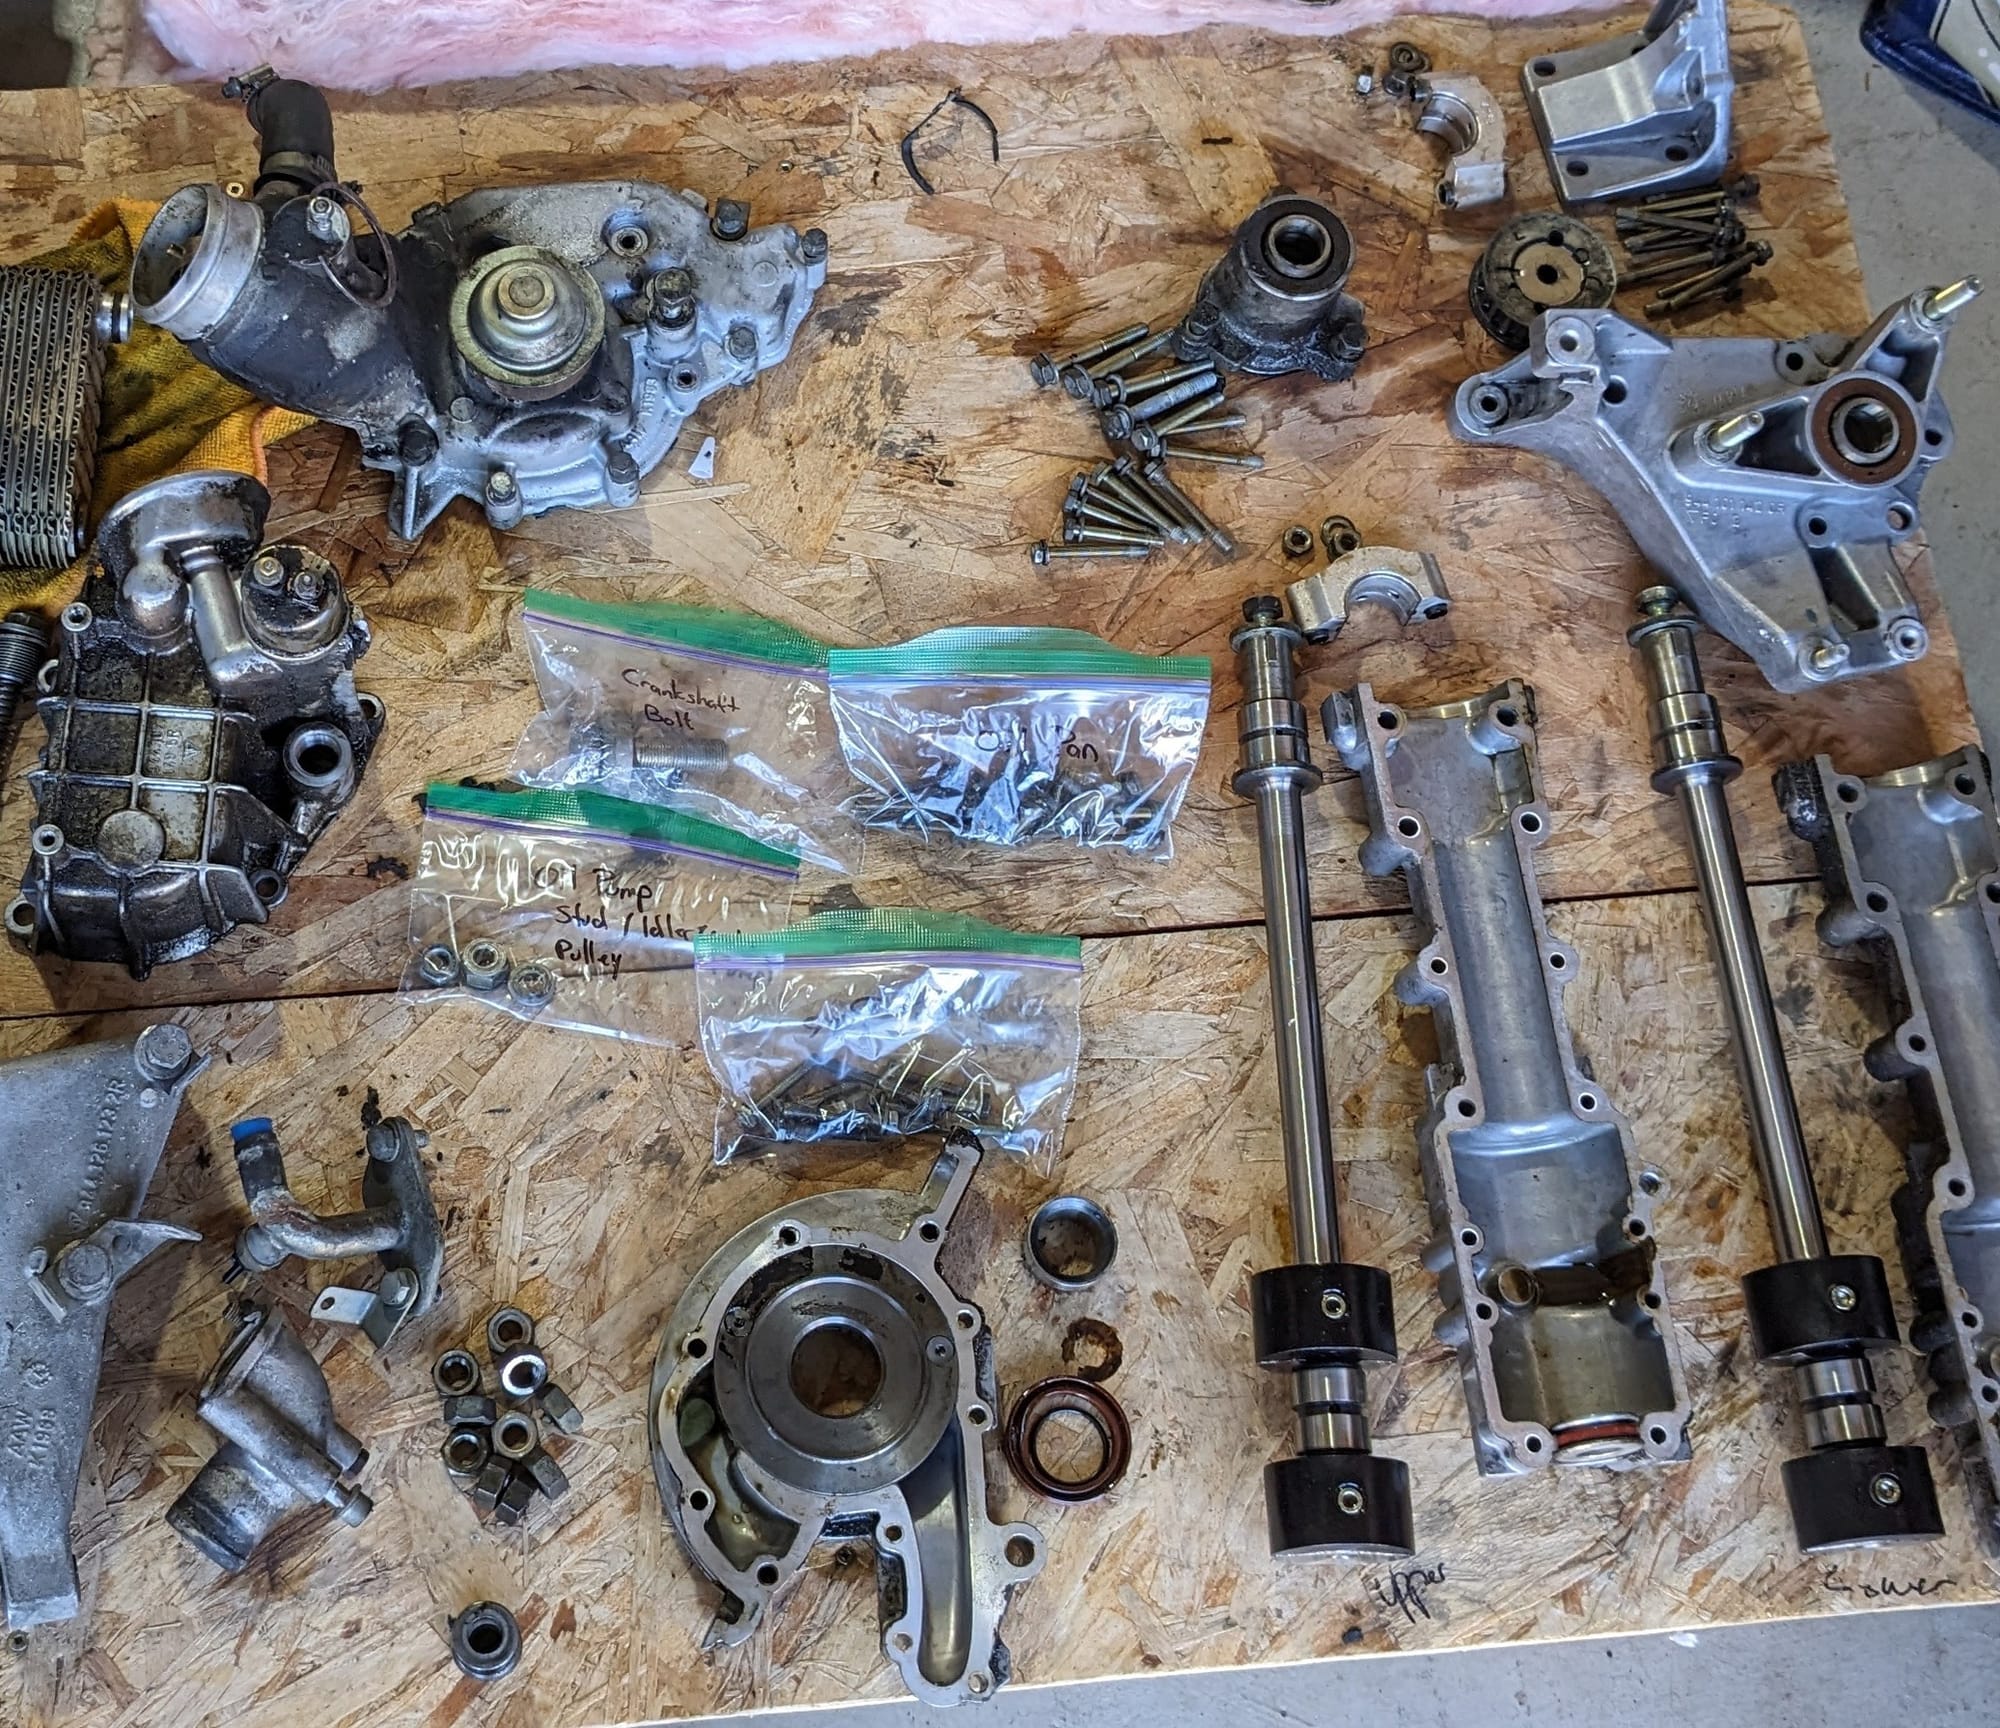
Time to clean!