Engine Removal
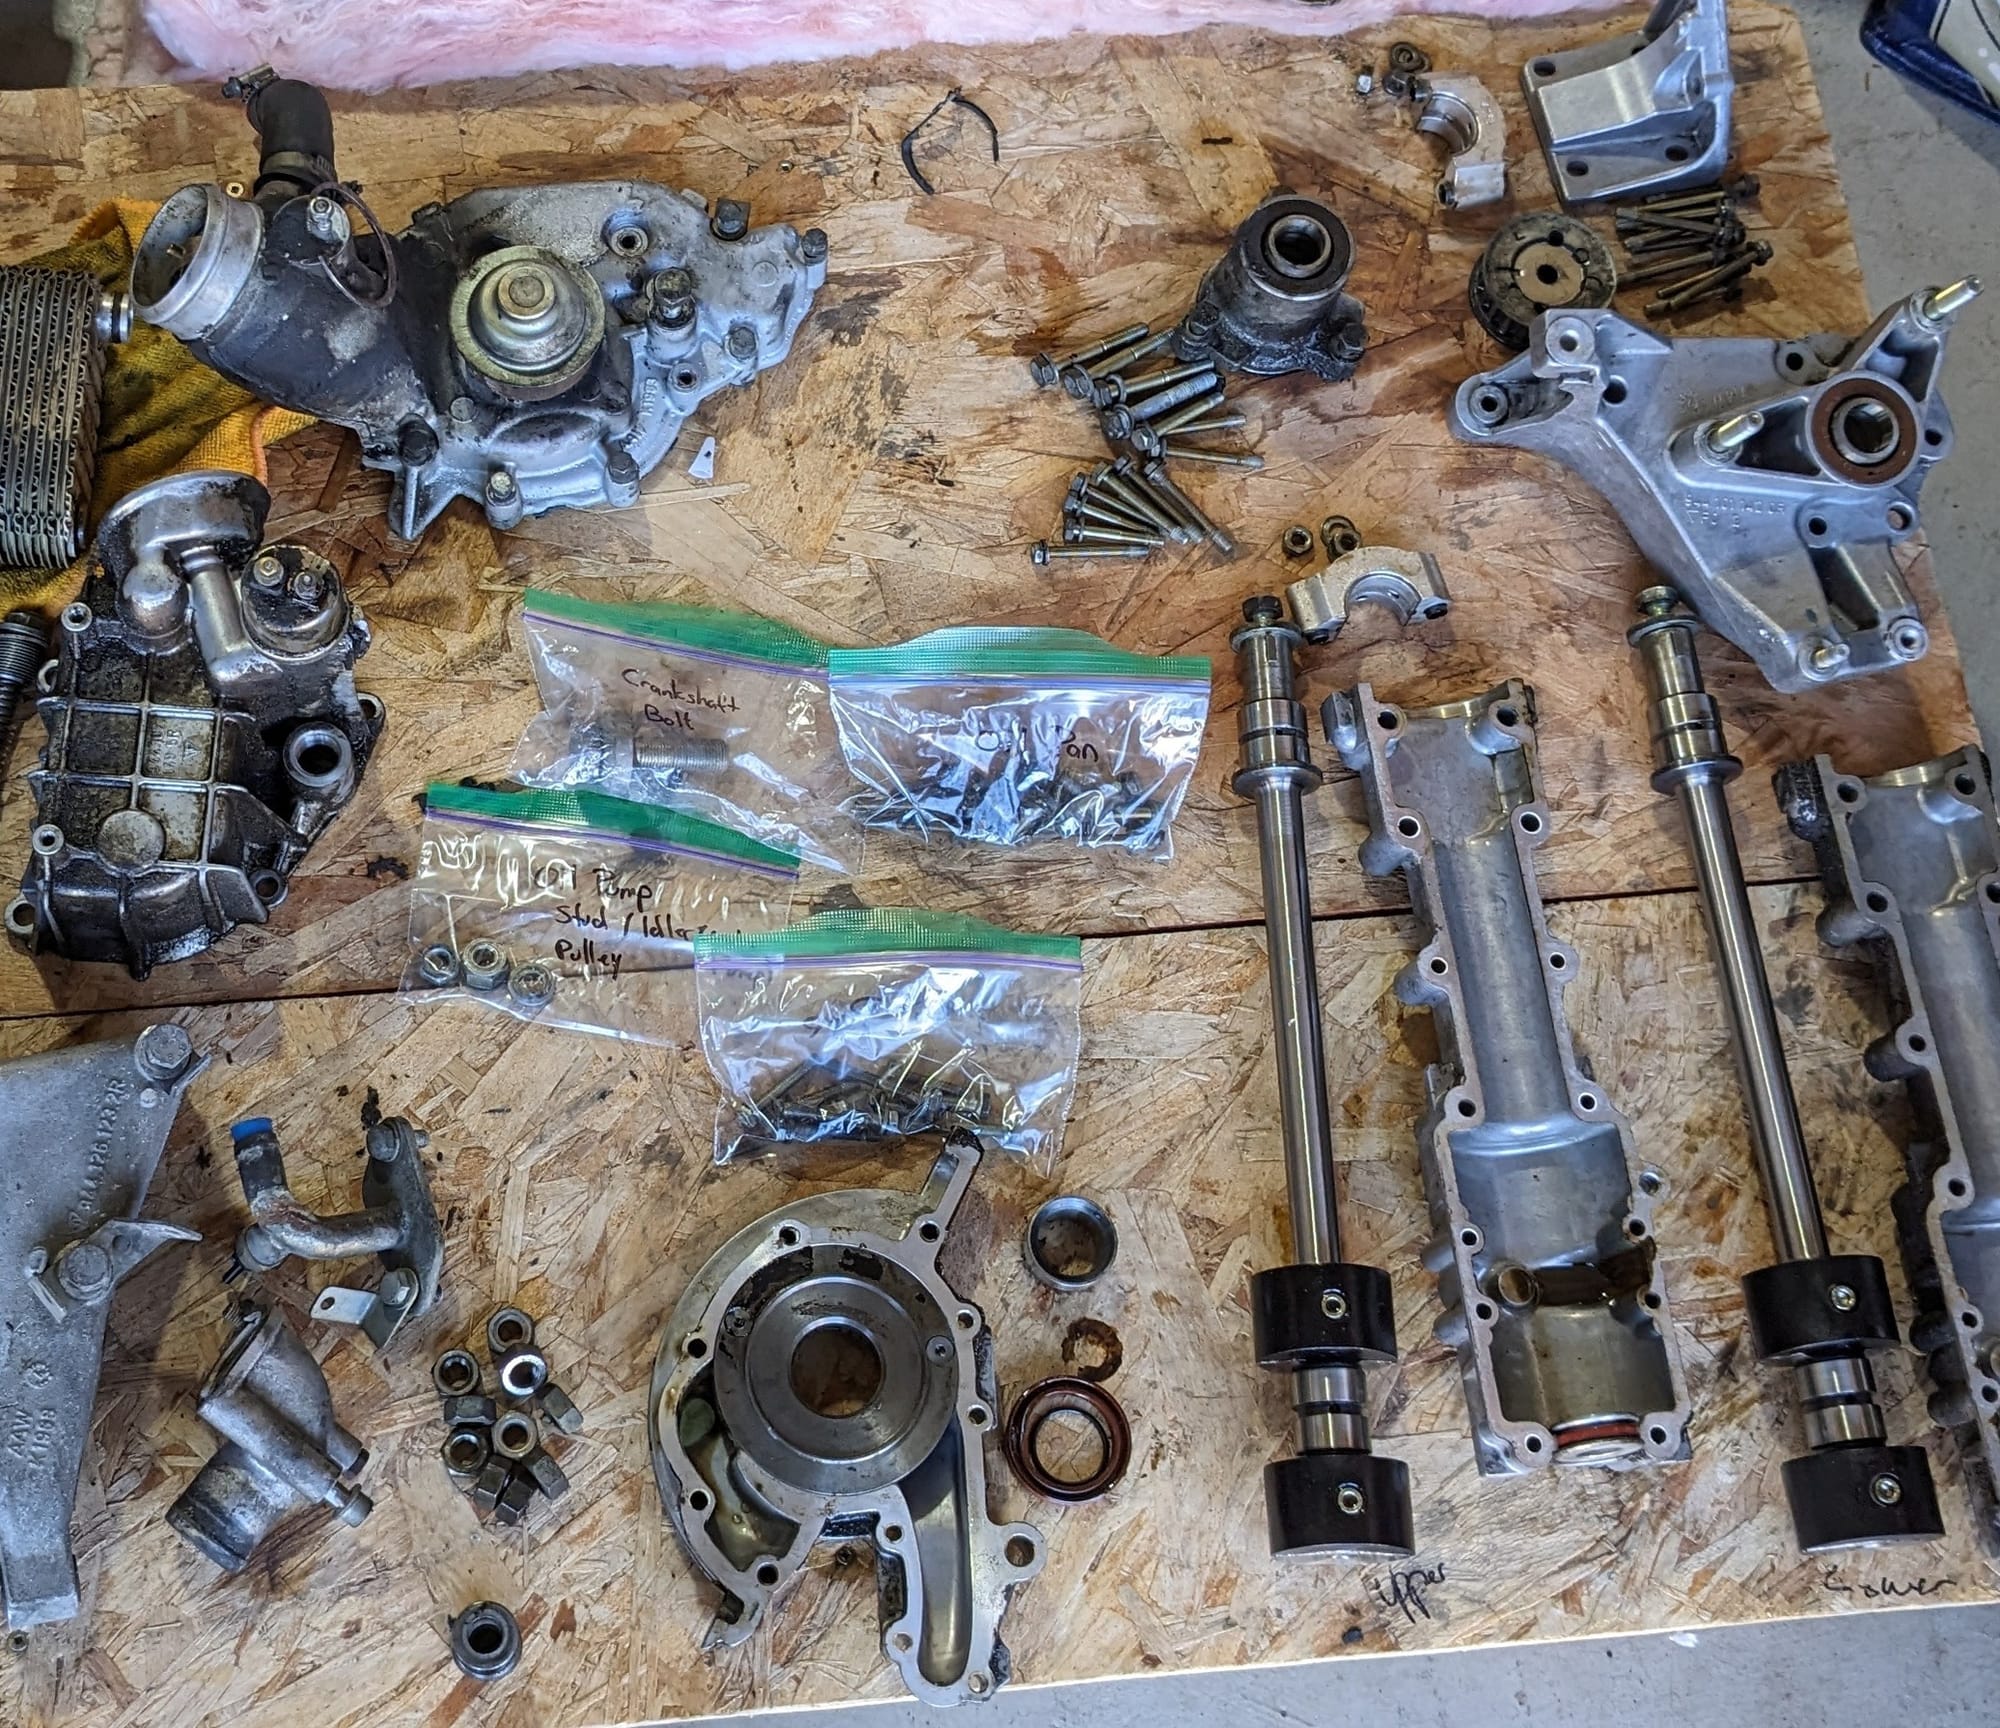
The engine has been sitting for the last 20 years in a barn and was not only very dirty, but at this point every gasket needed to be replaced. Since the transaxle had already been removed to replace gaskets and clean, I decided to remove the engine out of the top.
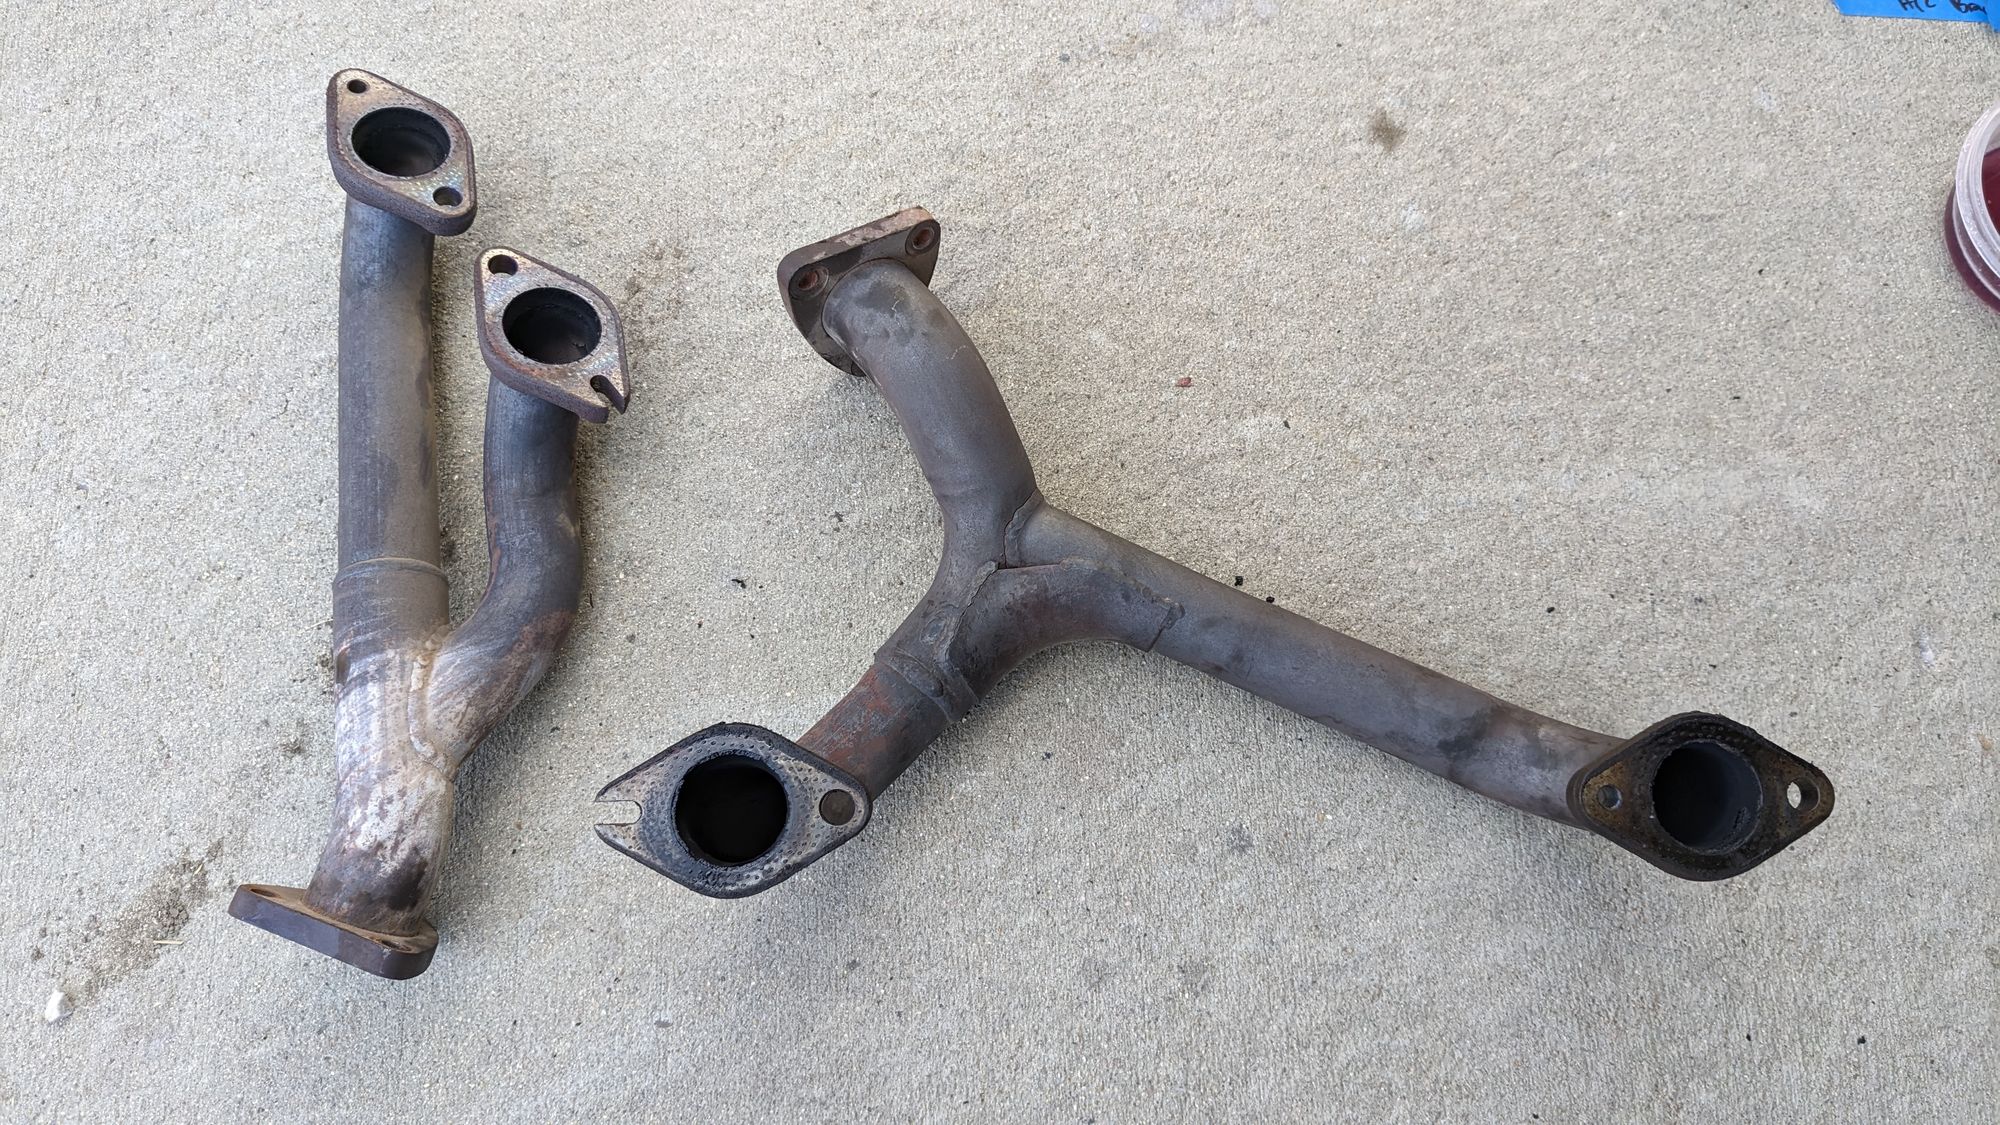
Exhaust Manifolds
The first step was to remove the exhaust manifolds. I read that I would need to remove the studs due to space issues, but I was able to remove just the nuts and slide the manifolds down and out of the car.
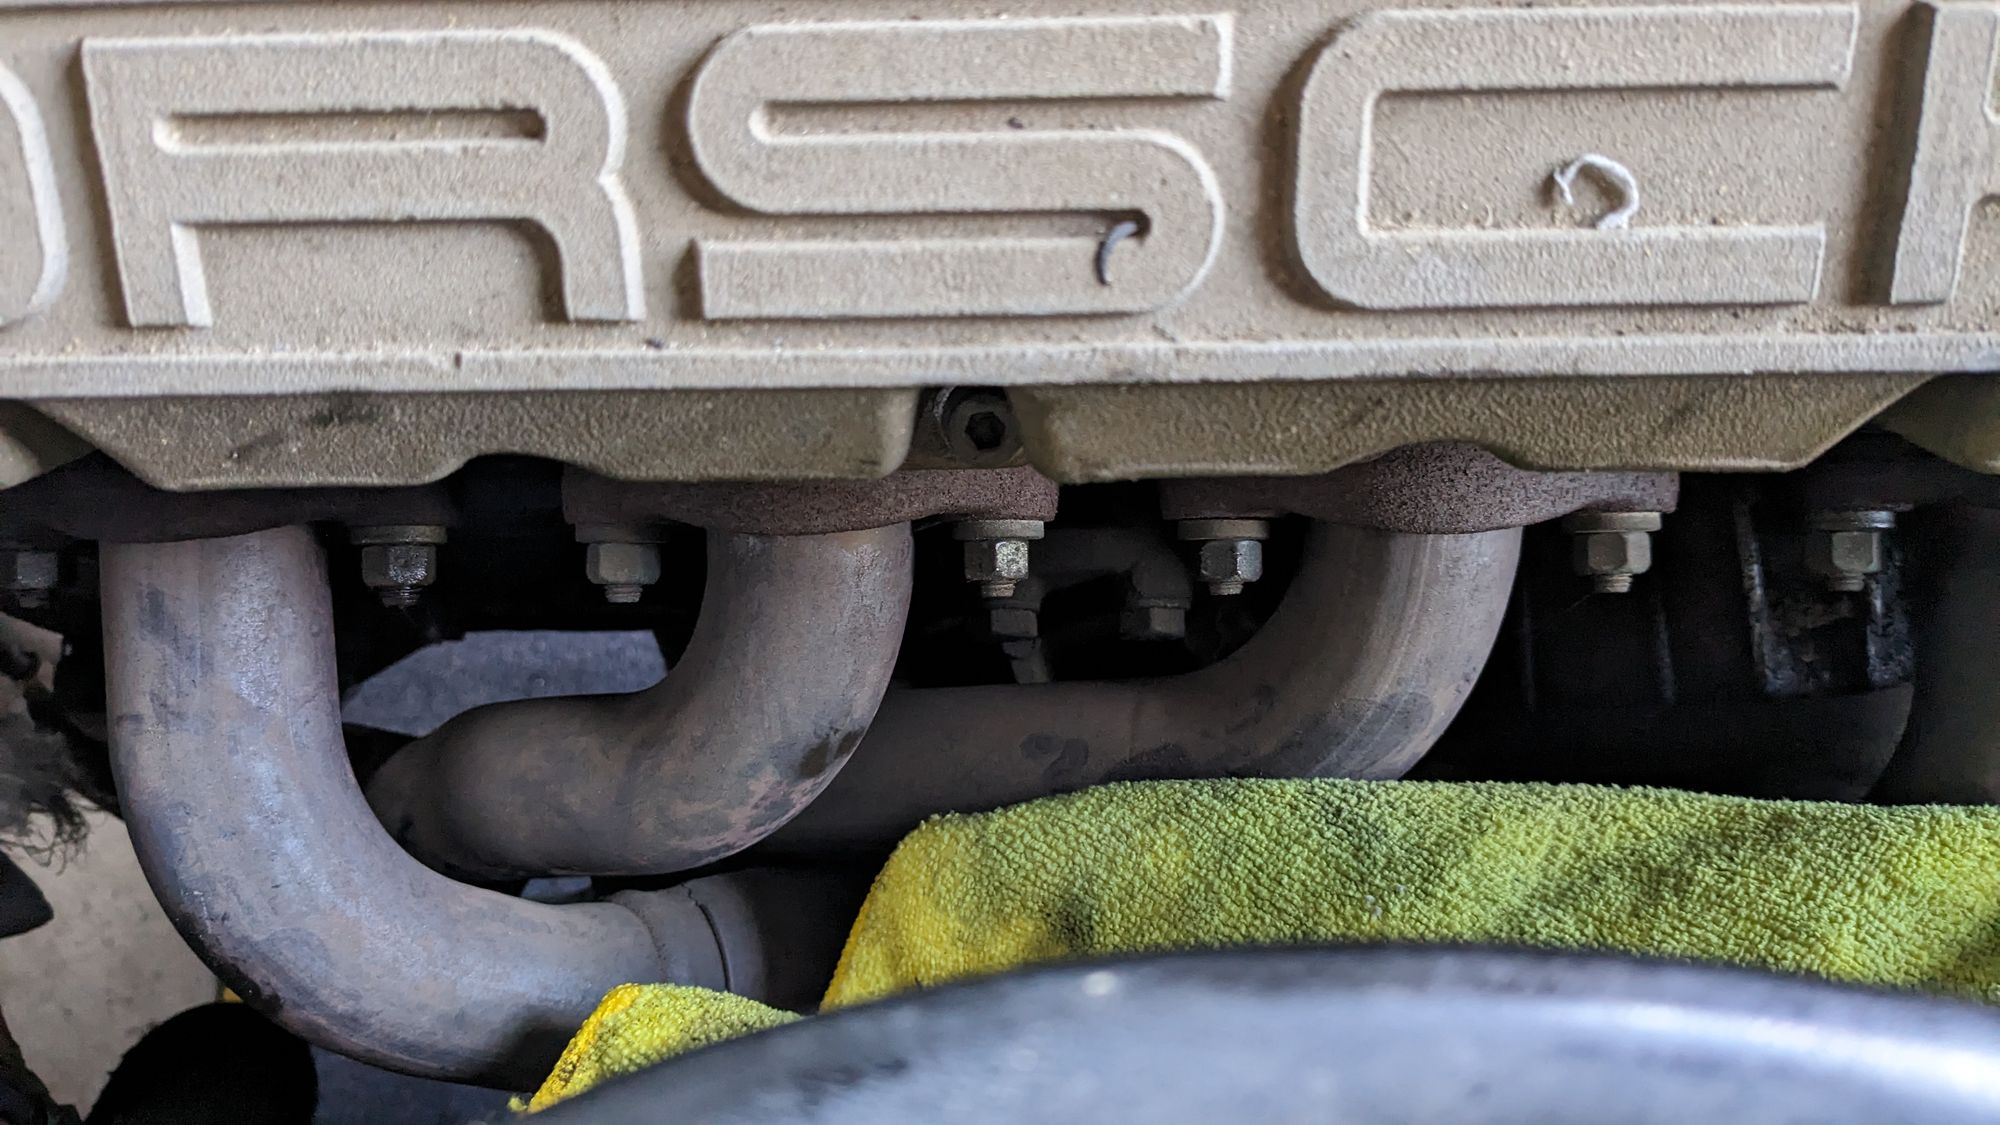
Upon inspection I discovered that these manifolds were actually the steel manifolds from the 85.5+ models and not the cast iron from the early 944. This may be why I was able to remove them without removing the studs. Unfortunately both manifolds were cracked so I will be replacing them with the original cast iron parts.
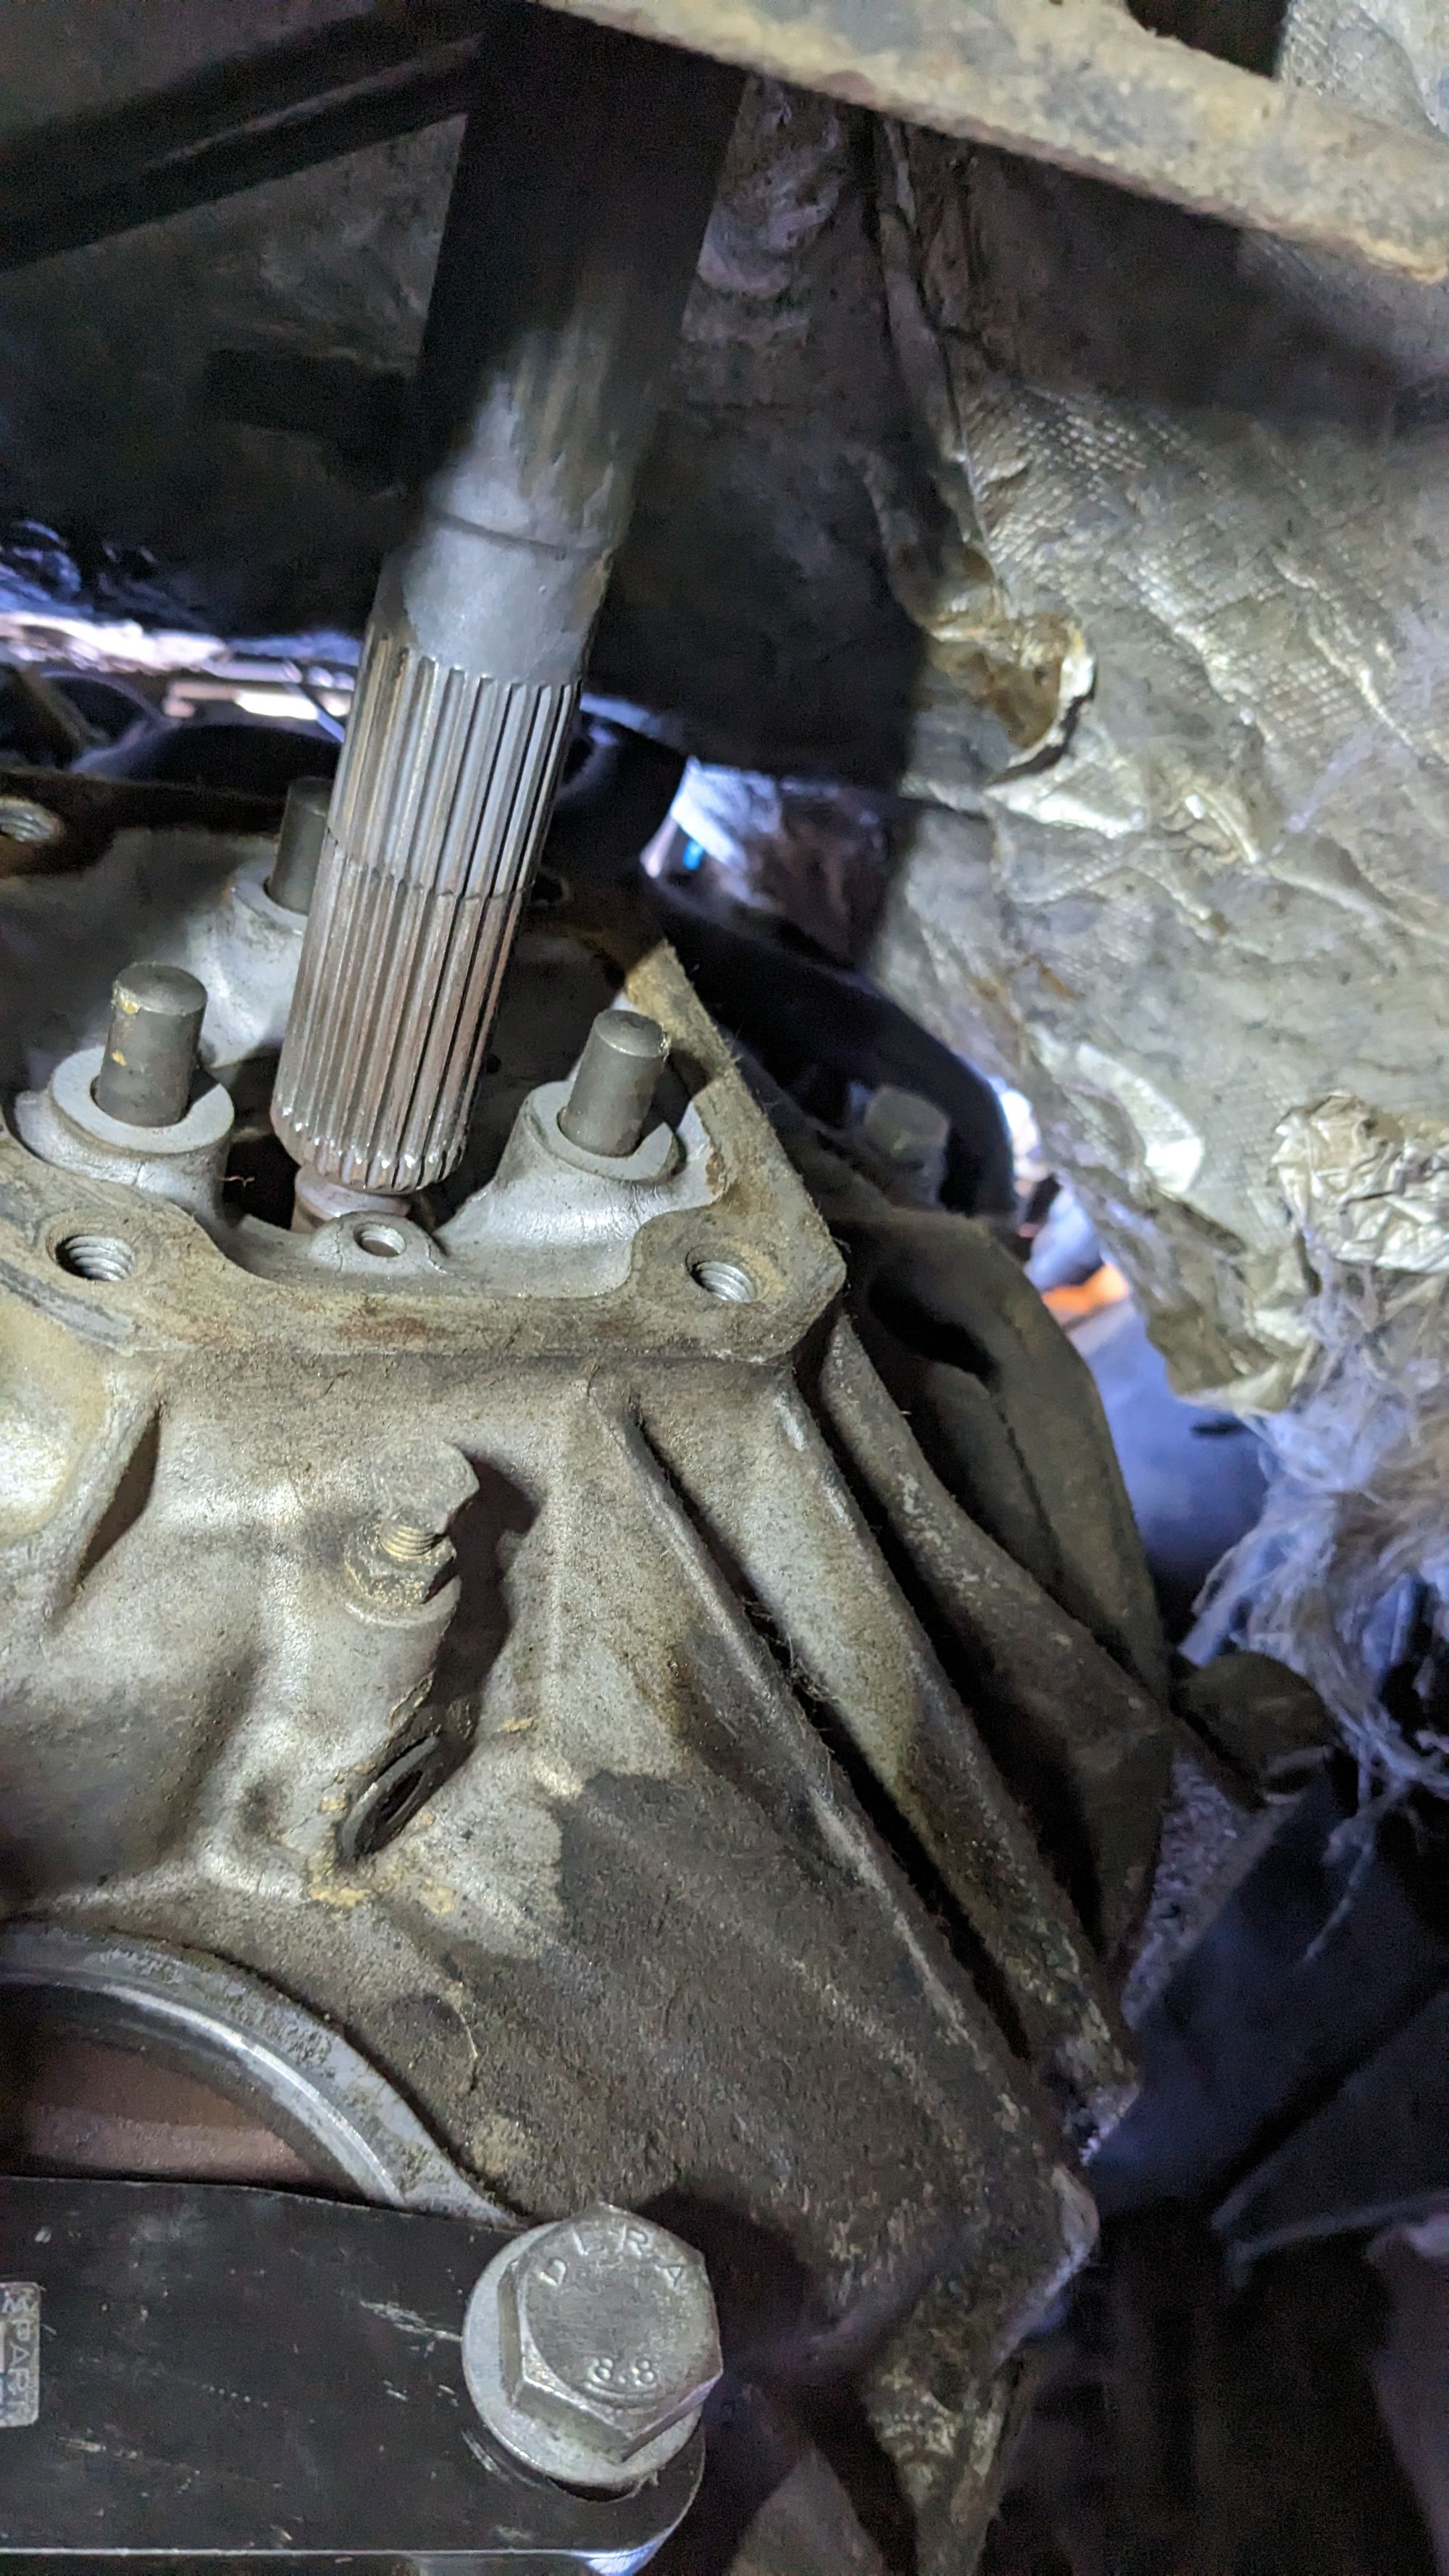
Torque Tube Slide Back
The next step was to disconnect the torque tube brackets and slide it back about a foot so that the drive shaft is no longer connected to the engine. Here is an image with the torque tube slid back and the end of the drive shaft visible.
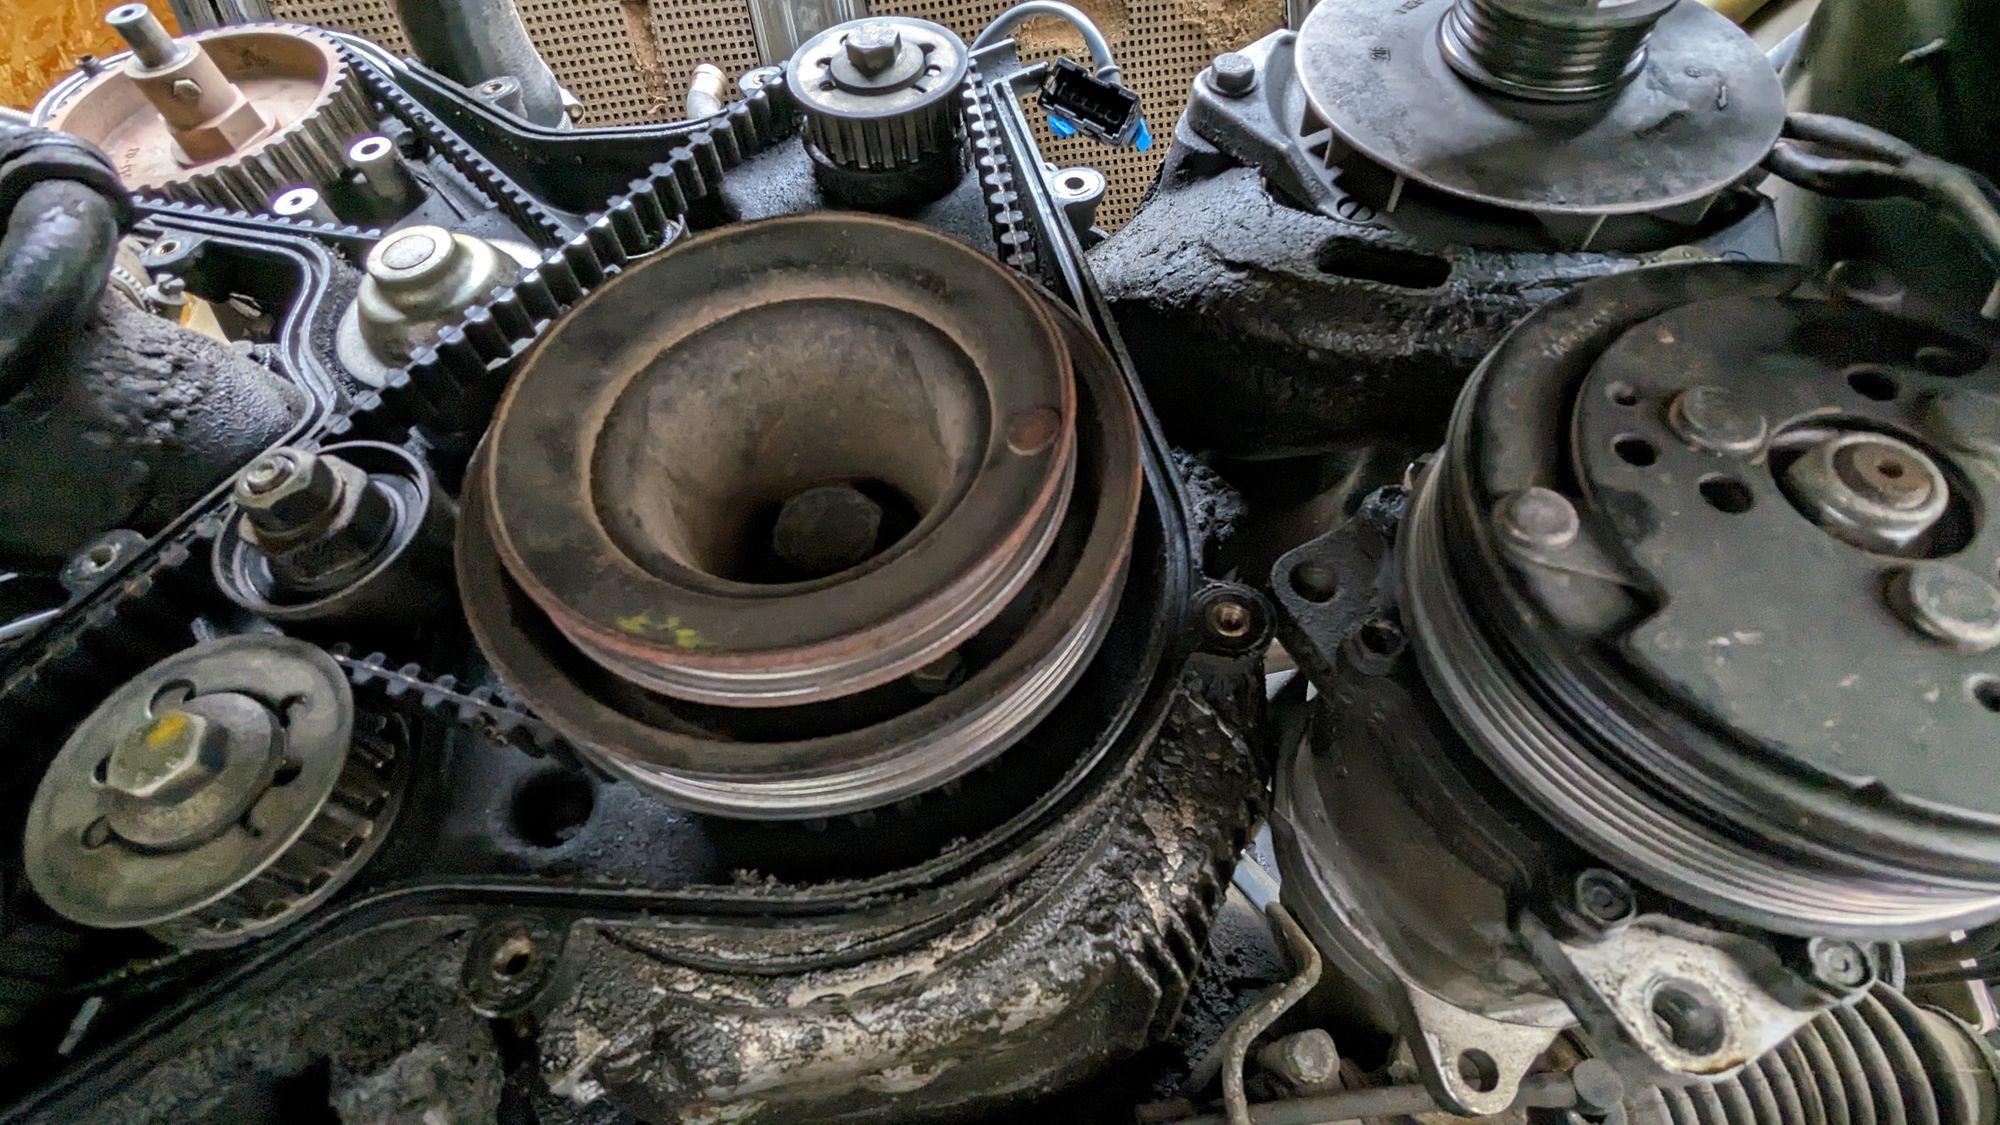
Accessory Pulley Removal
To provide a bit of room and avoid the radiator and hood latch, I removed the accessory pulley gear which is attached to the crank gear.
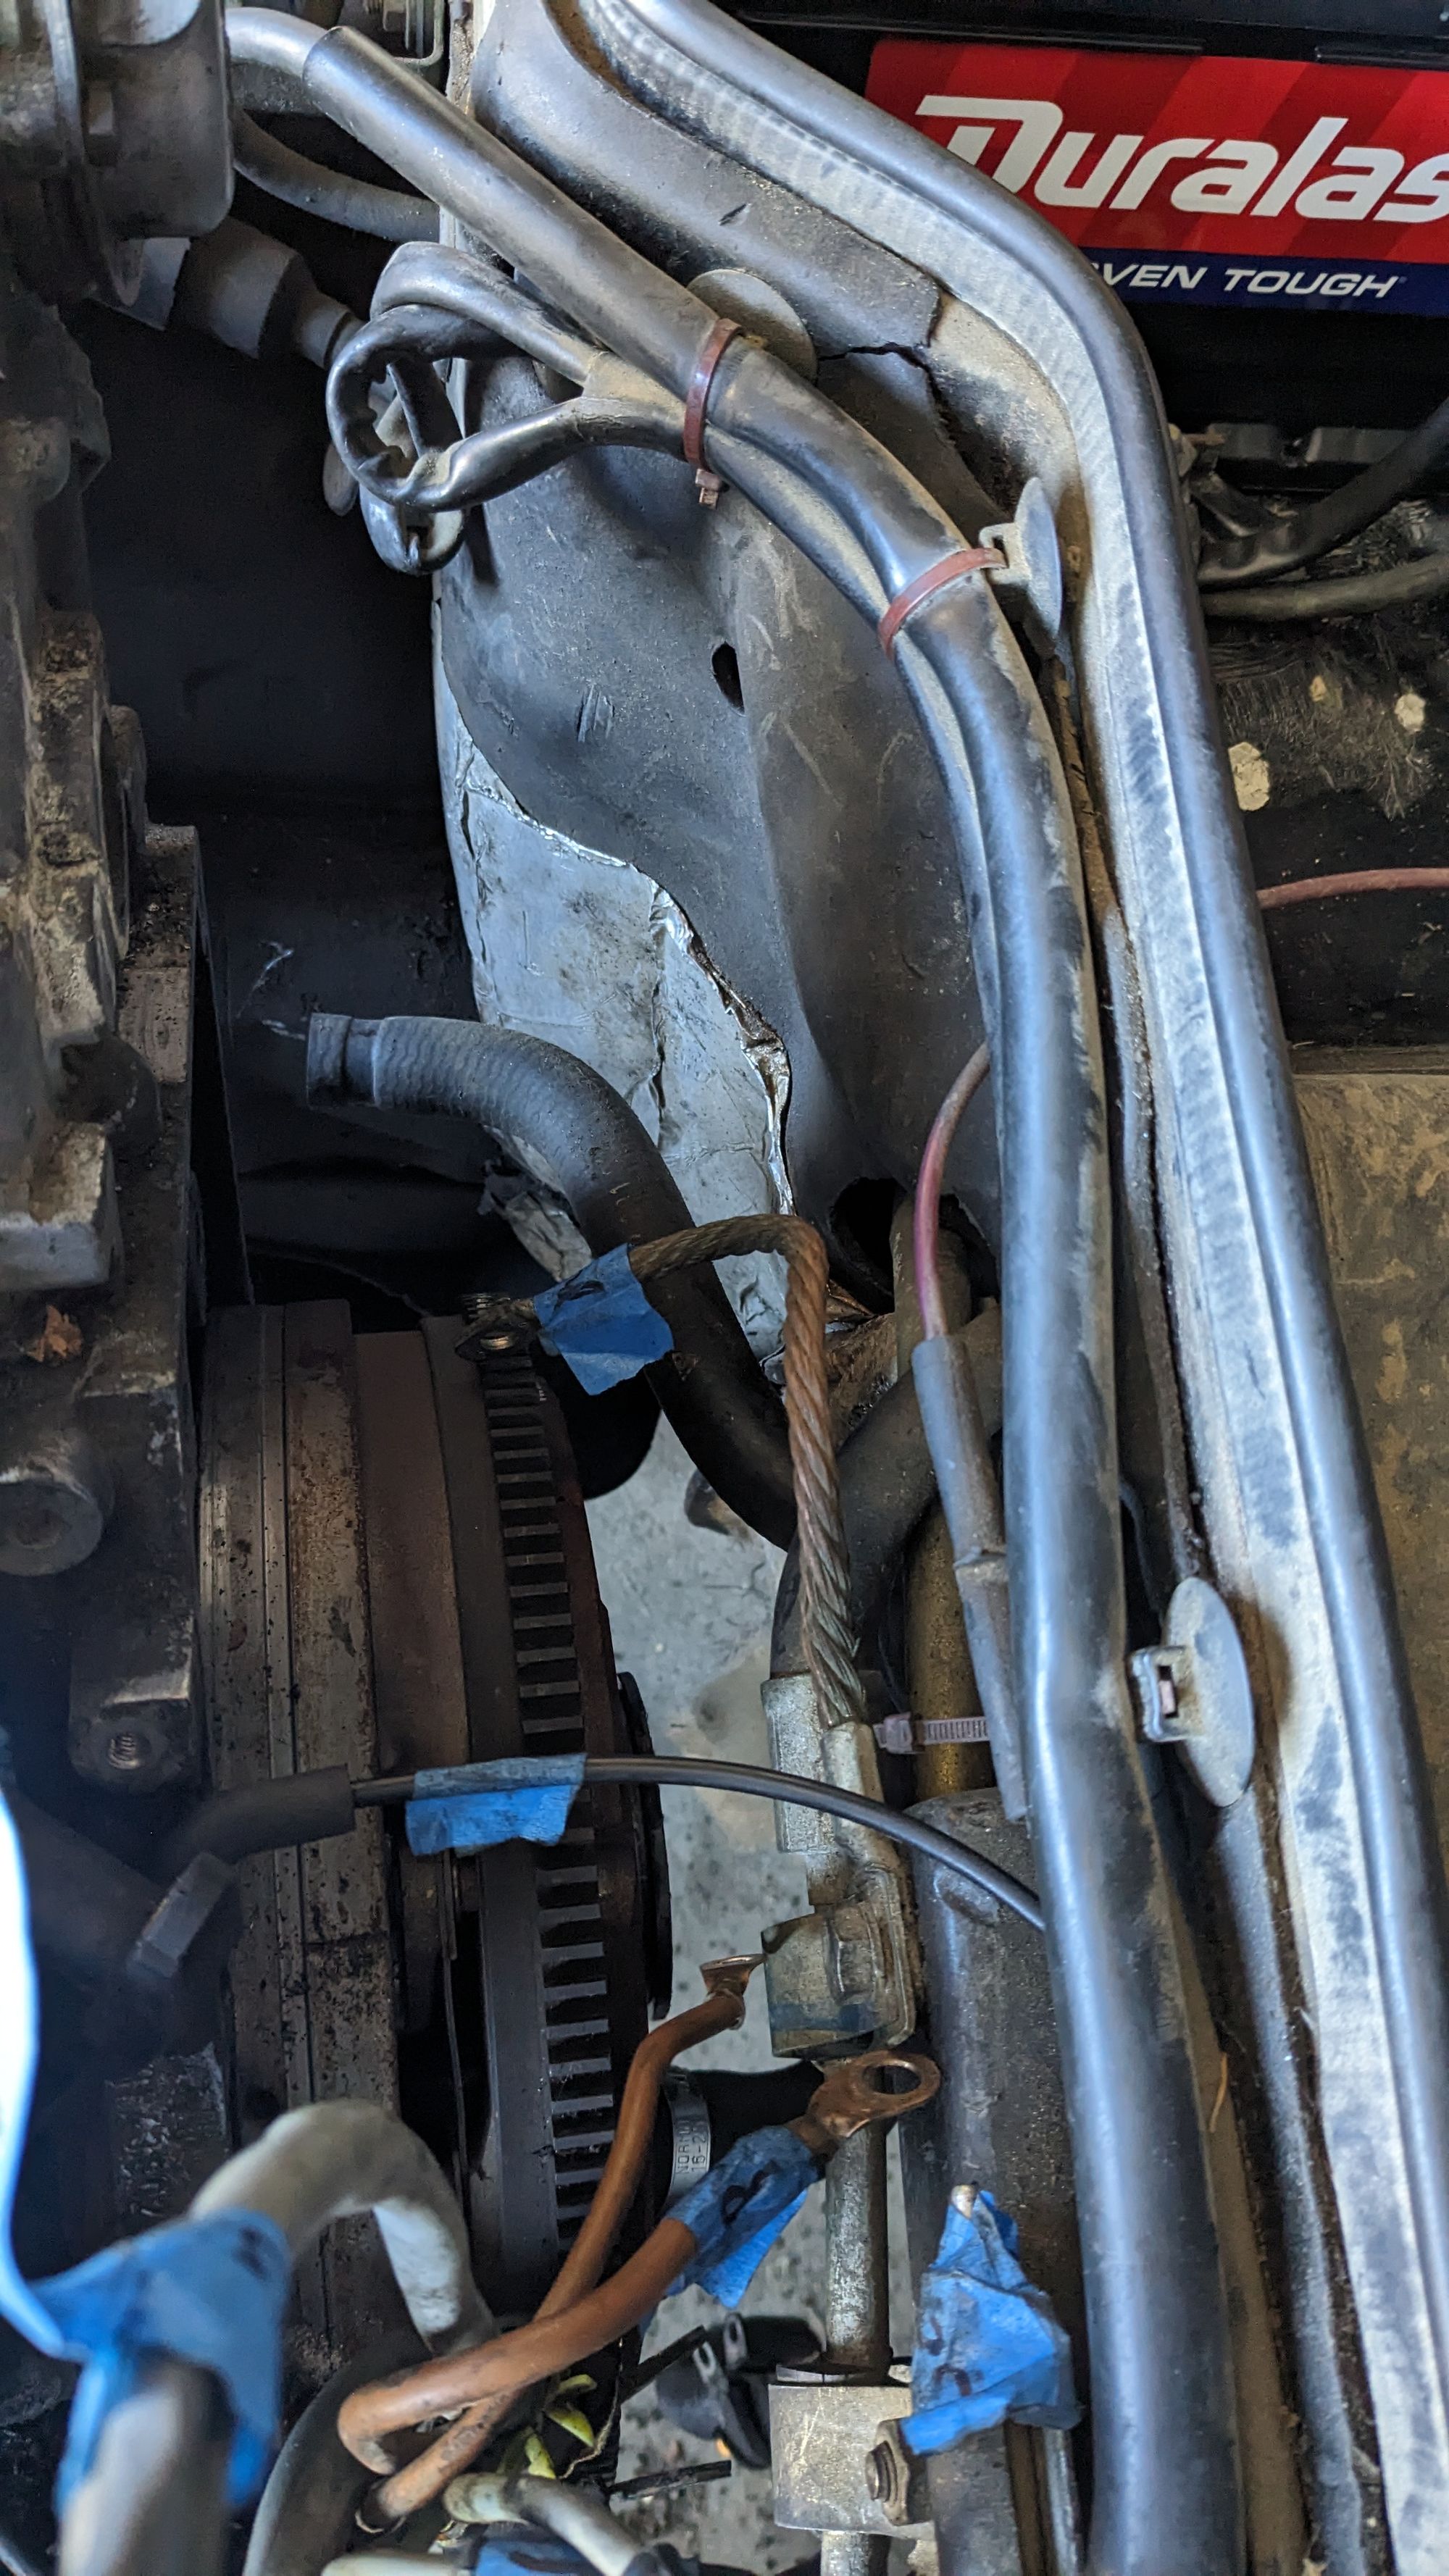
Removal Coolant Hoses
I drained the coolant and removed all the hoses connecting to the water pump.

I then removed the metal coolant hose near the exhaust manifolds.

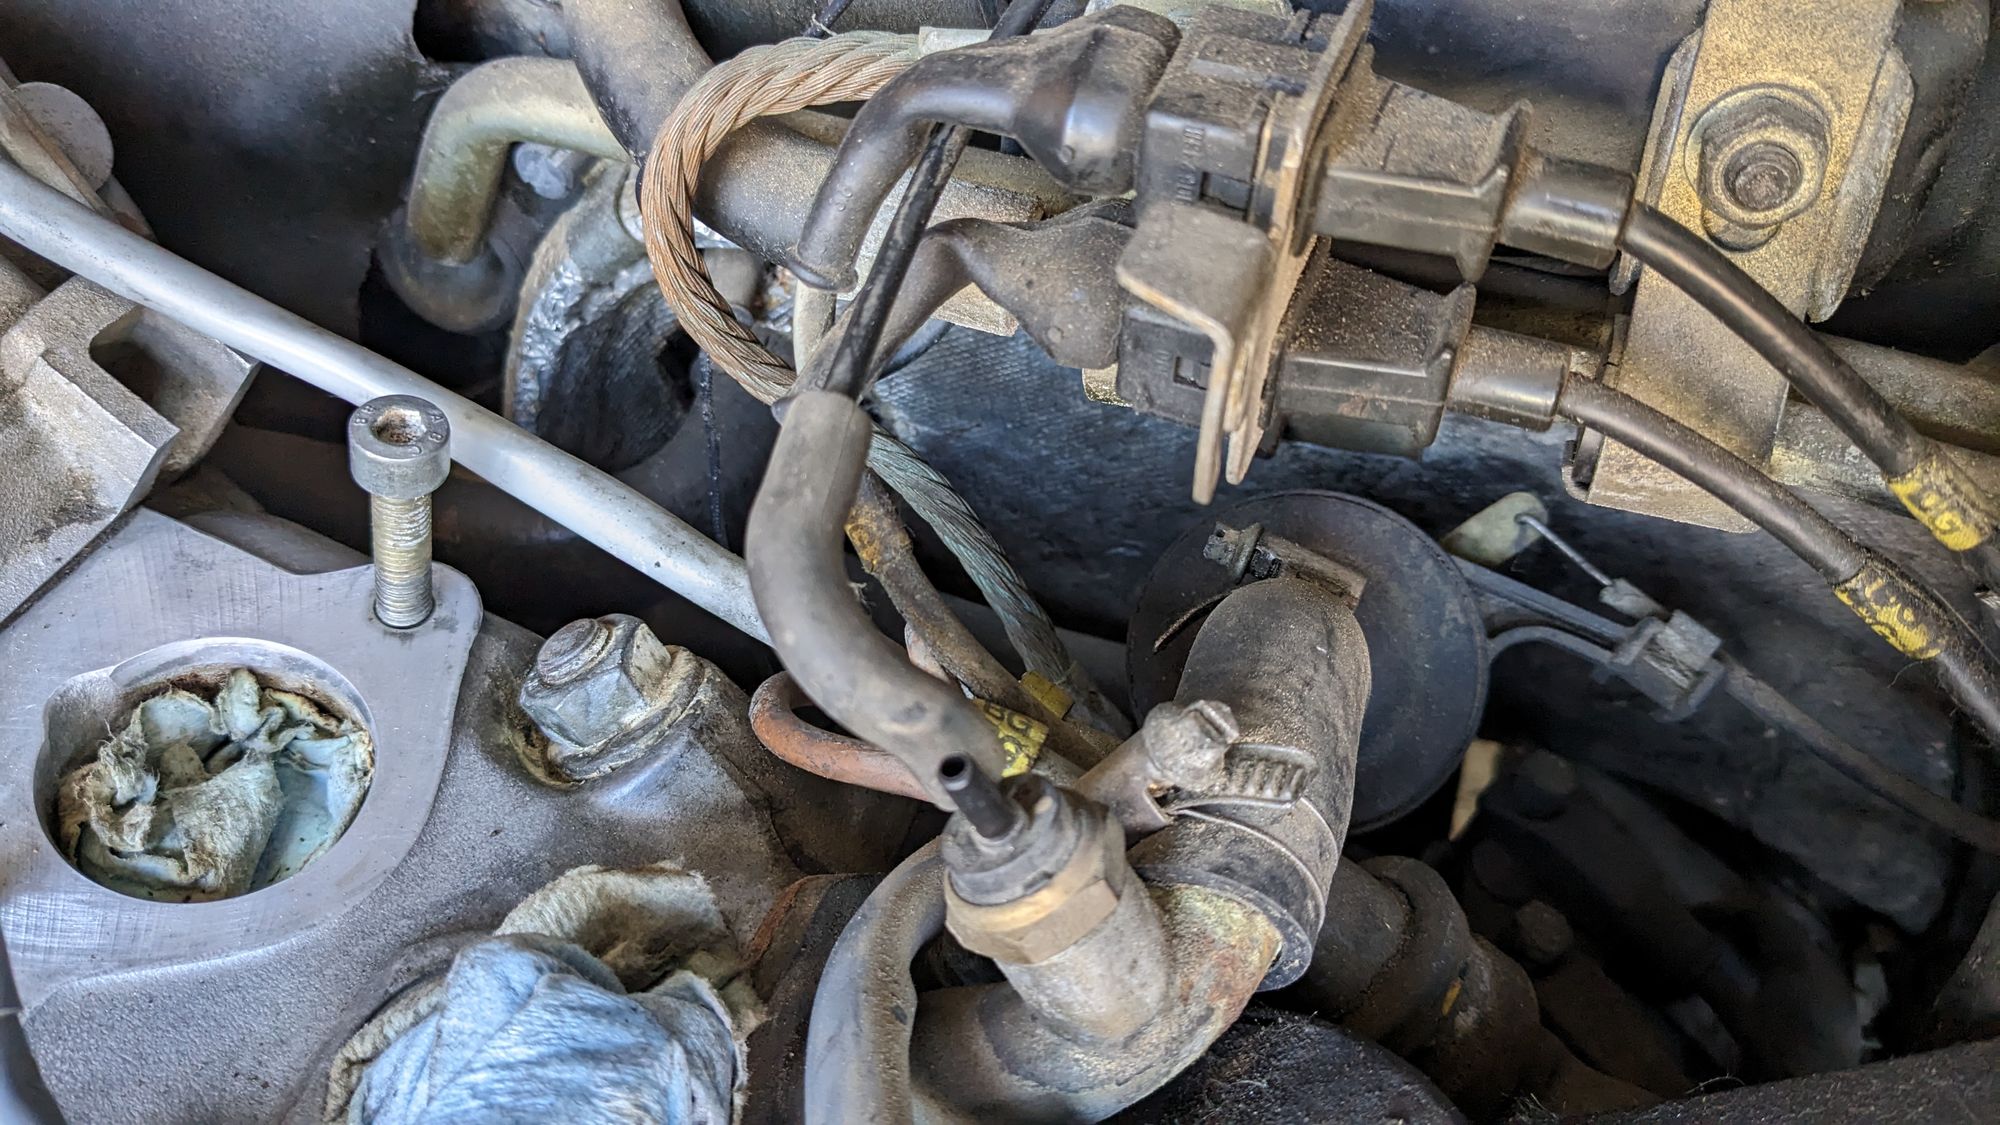
Disconnect Wiring Harness
I disconnected all the wires and vacuum hoses from the engine. Below is a picture of the back of the engine. There were a few ground wires that were a bit tricky to get to.
Engine Removal Prep
With everything disconnected I was ready to lift the engine out. A few things I did differently than others.
- I did not need to remove the radiator.
- I did not need to remove the hood. This was a bit of a surprise.
- I had the front timing cover off so I was able to remove the oil pressure wires. This allowed me to leave the engine wiring harness in the car and not disconnect the DME.
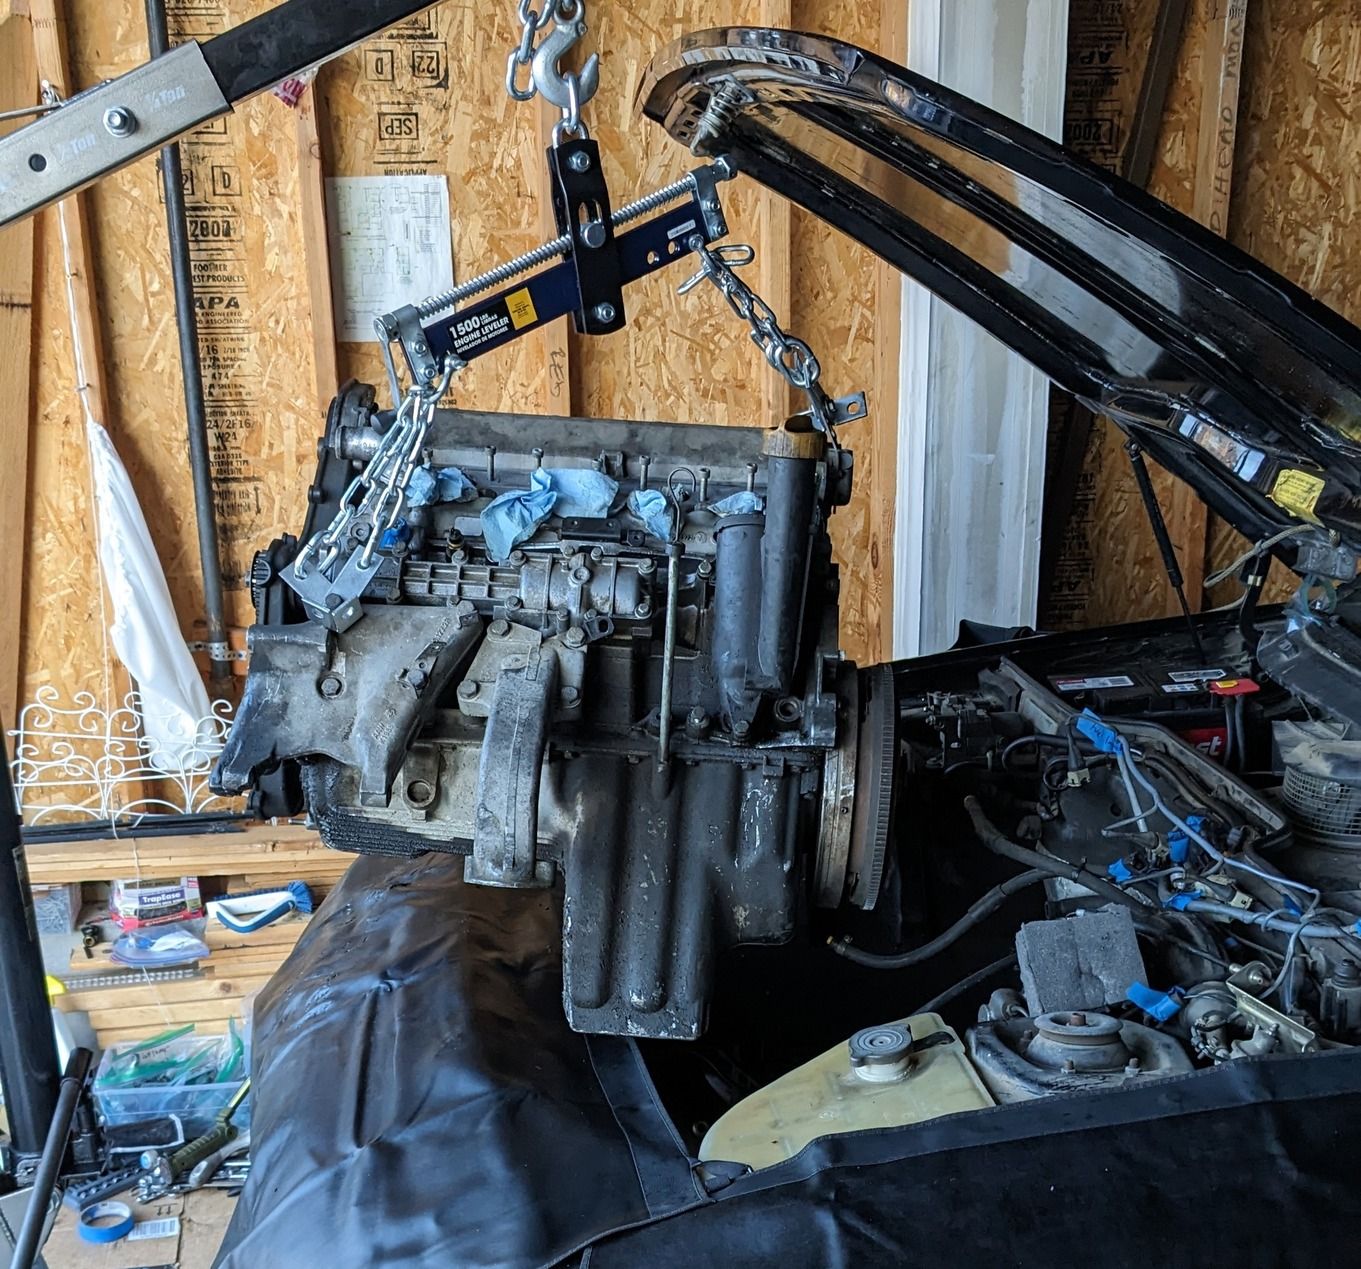
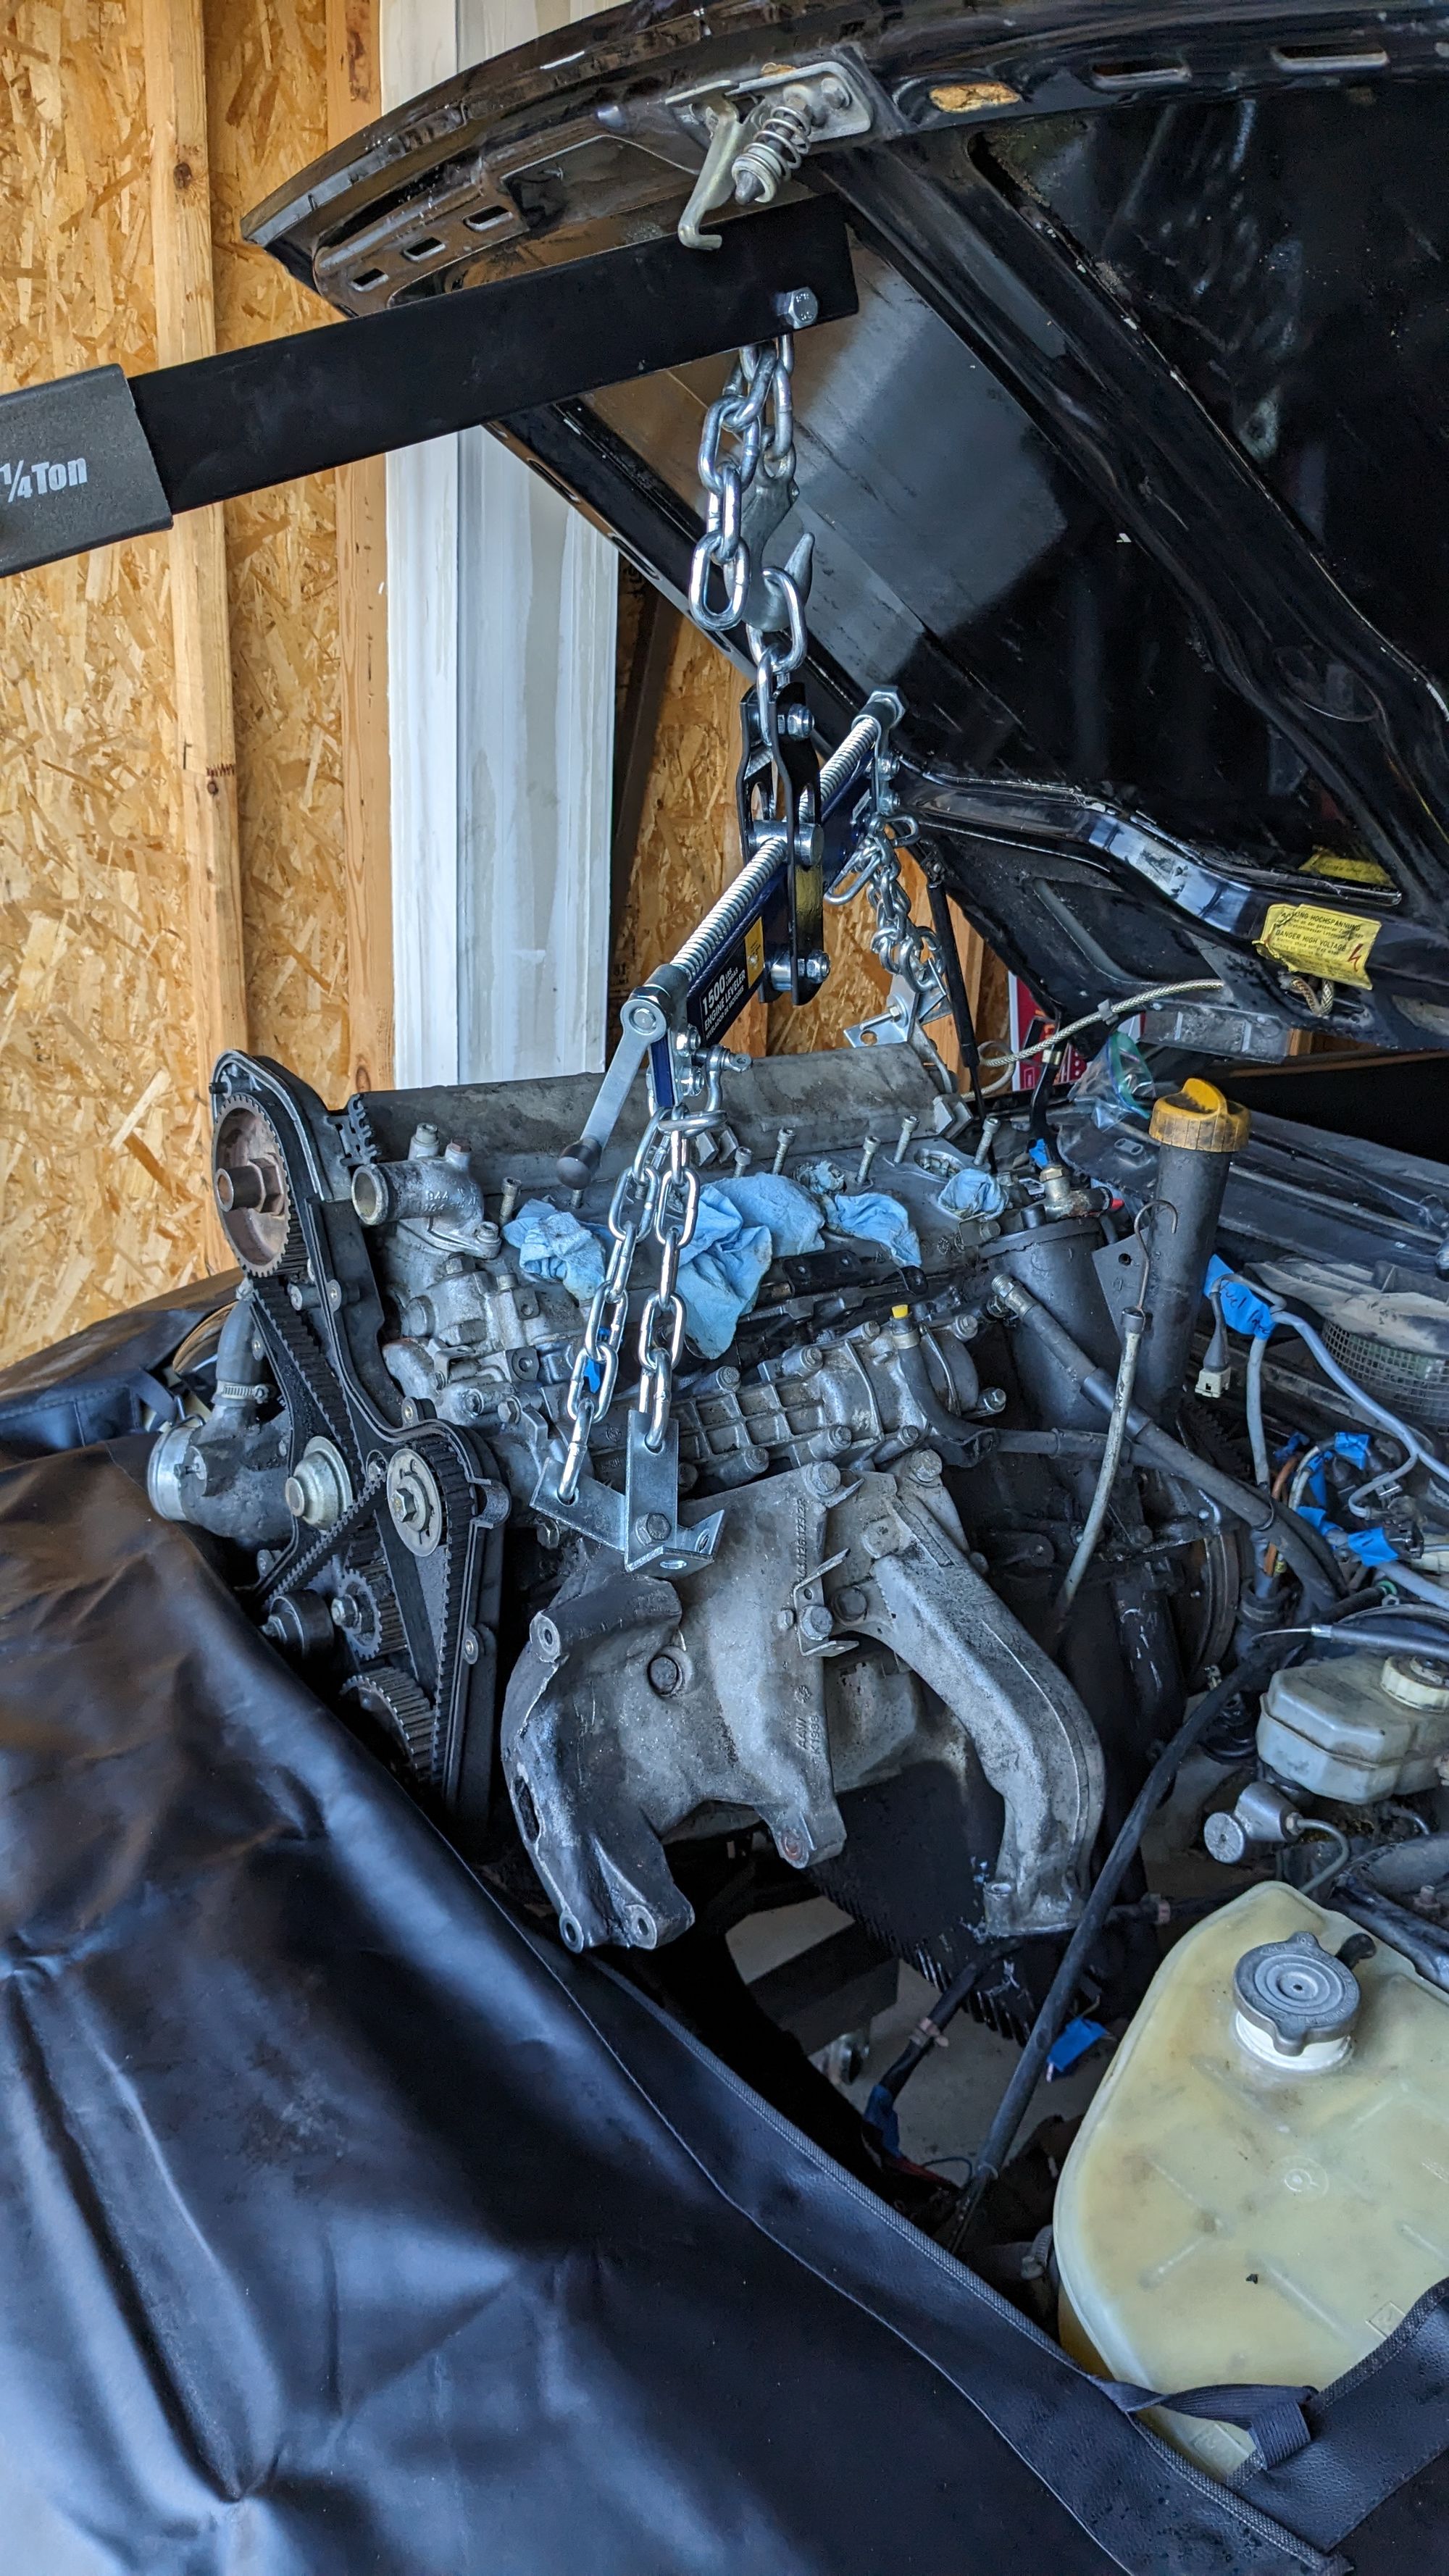
Engine Hoist
I connected the engine hoist to the two brackets. One in the back on the camshaft and the other near the accessory bracket.

Engine Removal First Attempt
I was ready to remove the engine. I realized fairly quickly that it was going to be a tight fit going out the top. Especially with the cross member left in-place and the intermediate steering shaft. The other obstacle is the bell housing, which required that I move the engine forward quite a bit before lifting. The problem of course is that it moved forward directly into the intermediate steering shaft. I aborted this attempt, put the engine back in place and removed the bell-housing.
Engine Removal Second Attempt
With the bell-housing removed, the second attempt went fairly smoothly. I was able to lift upwards immediately and then pivot the engine away from the steering shaft.


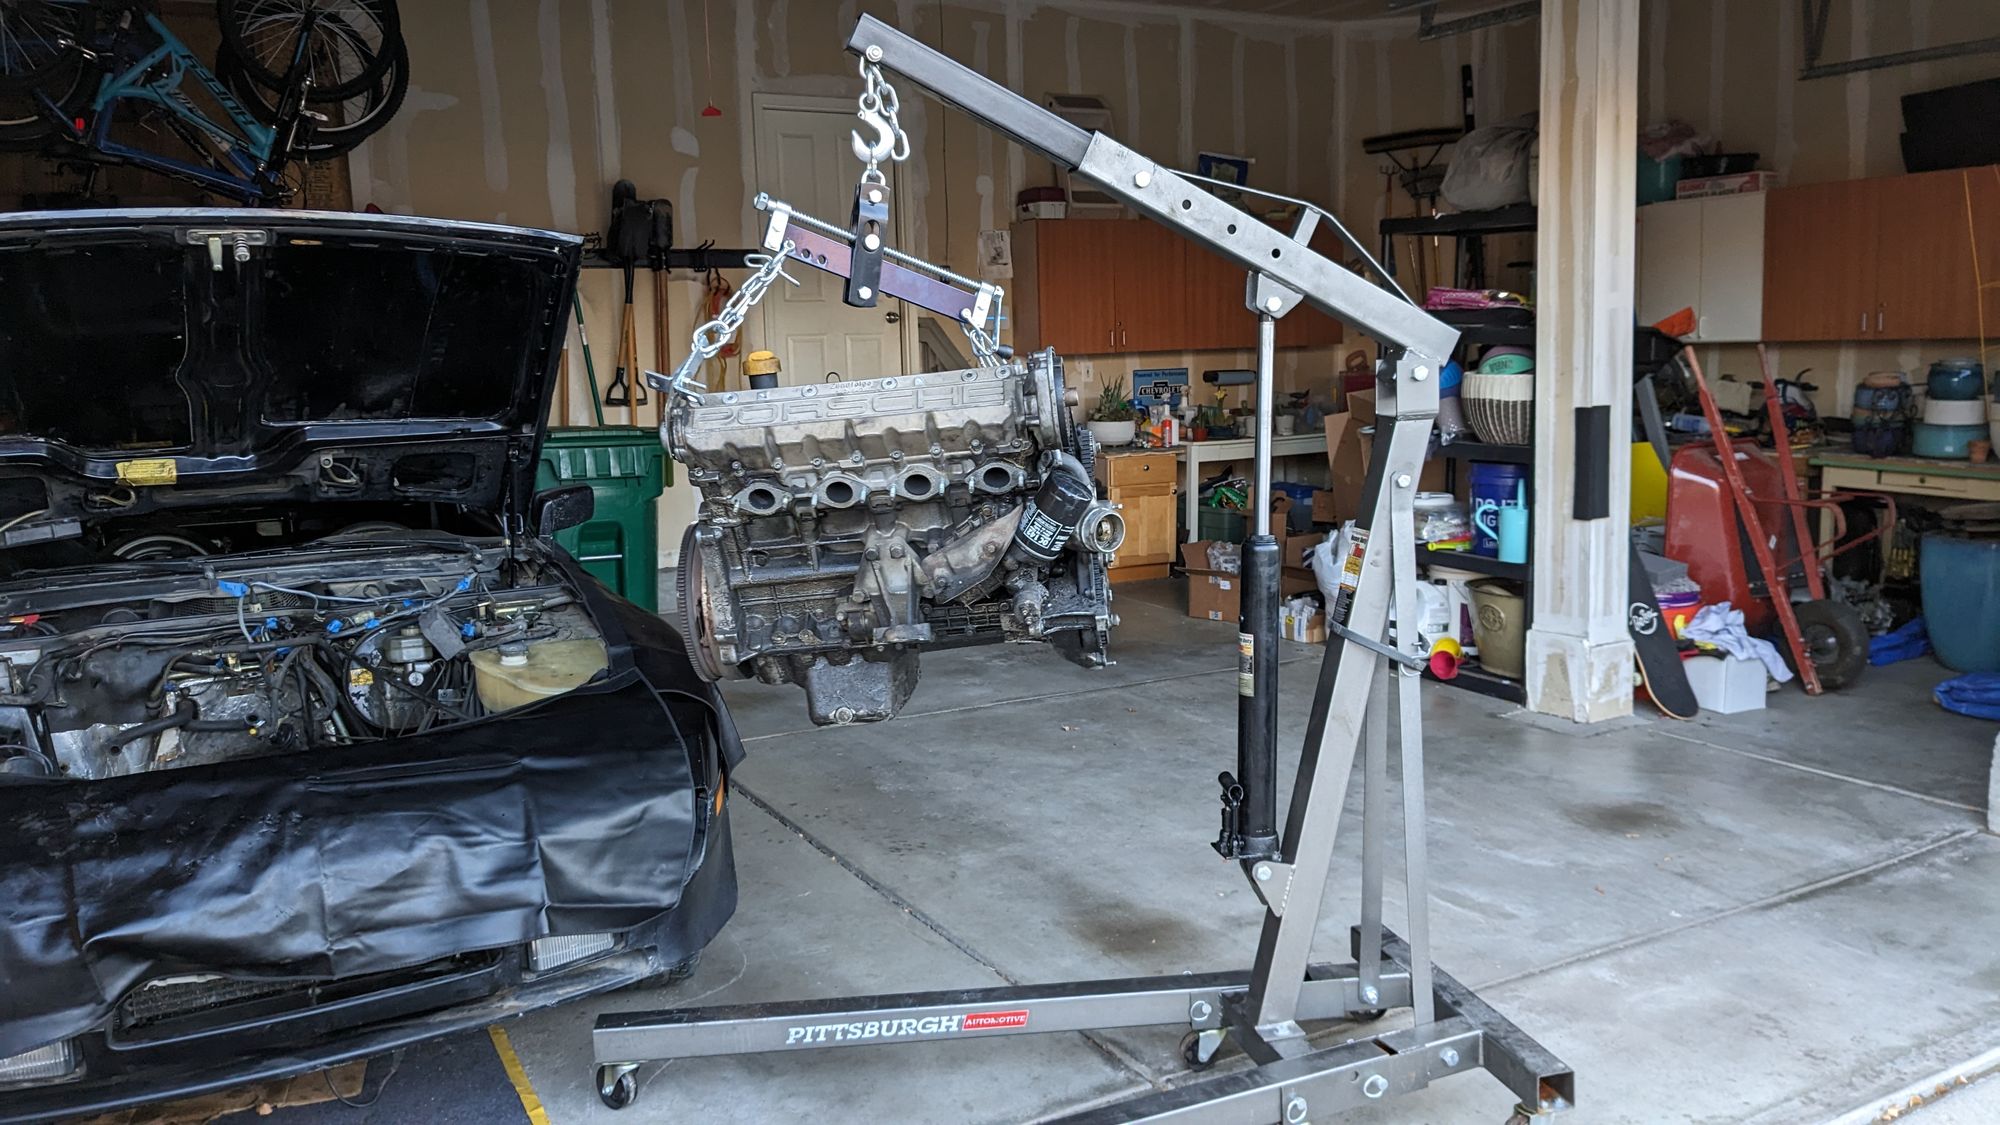
Success!